
How to Make a Large Studio Easel in 6 Easy- Peasy Steps
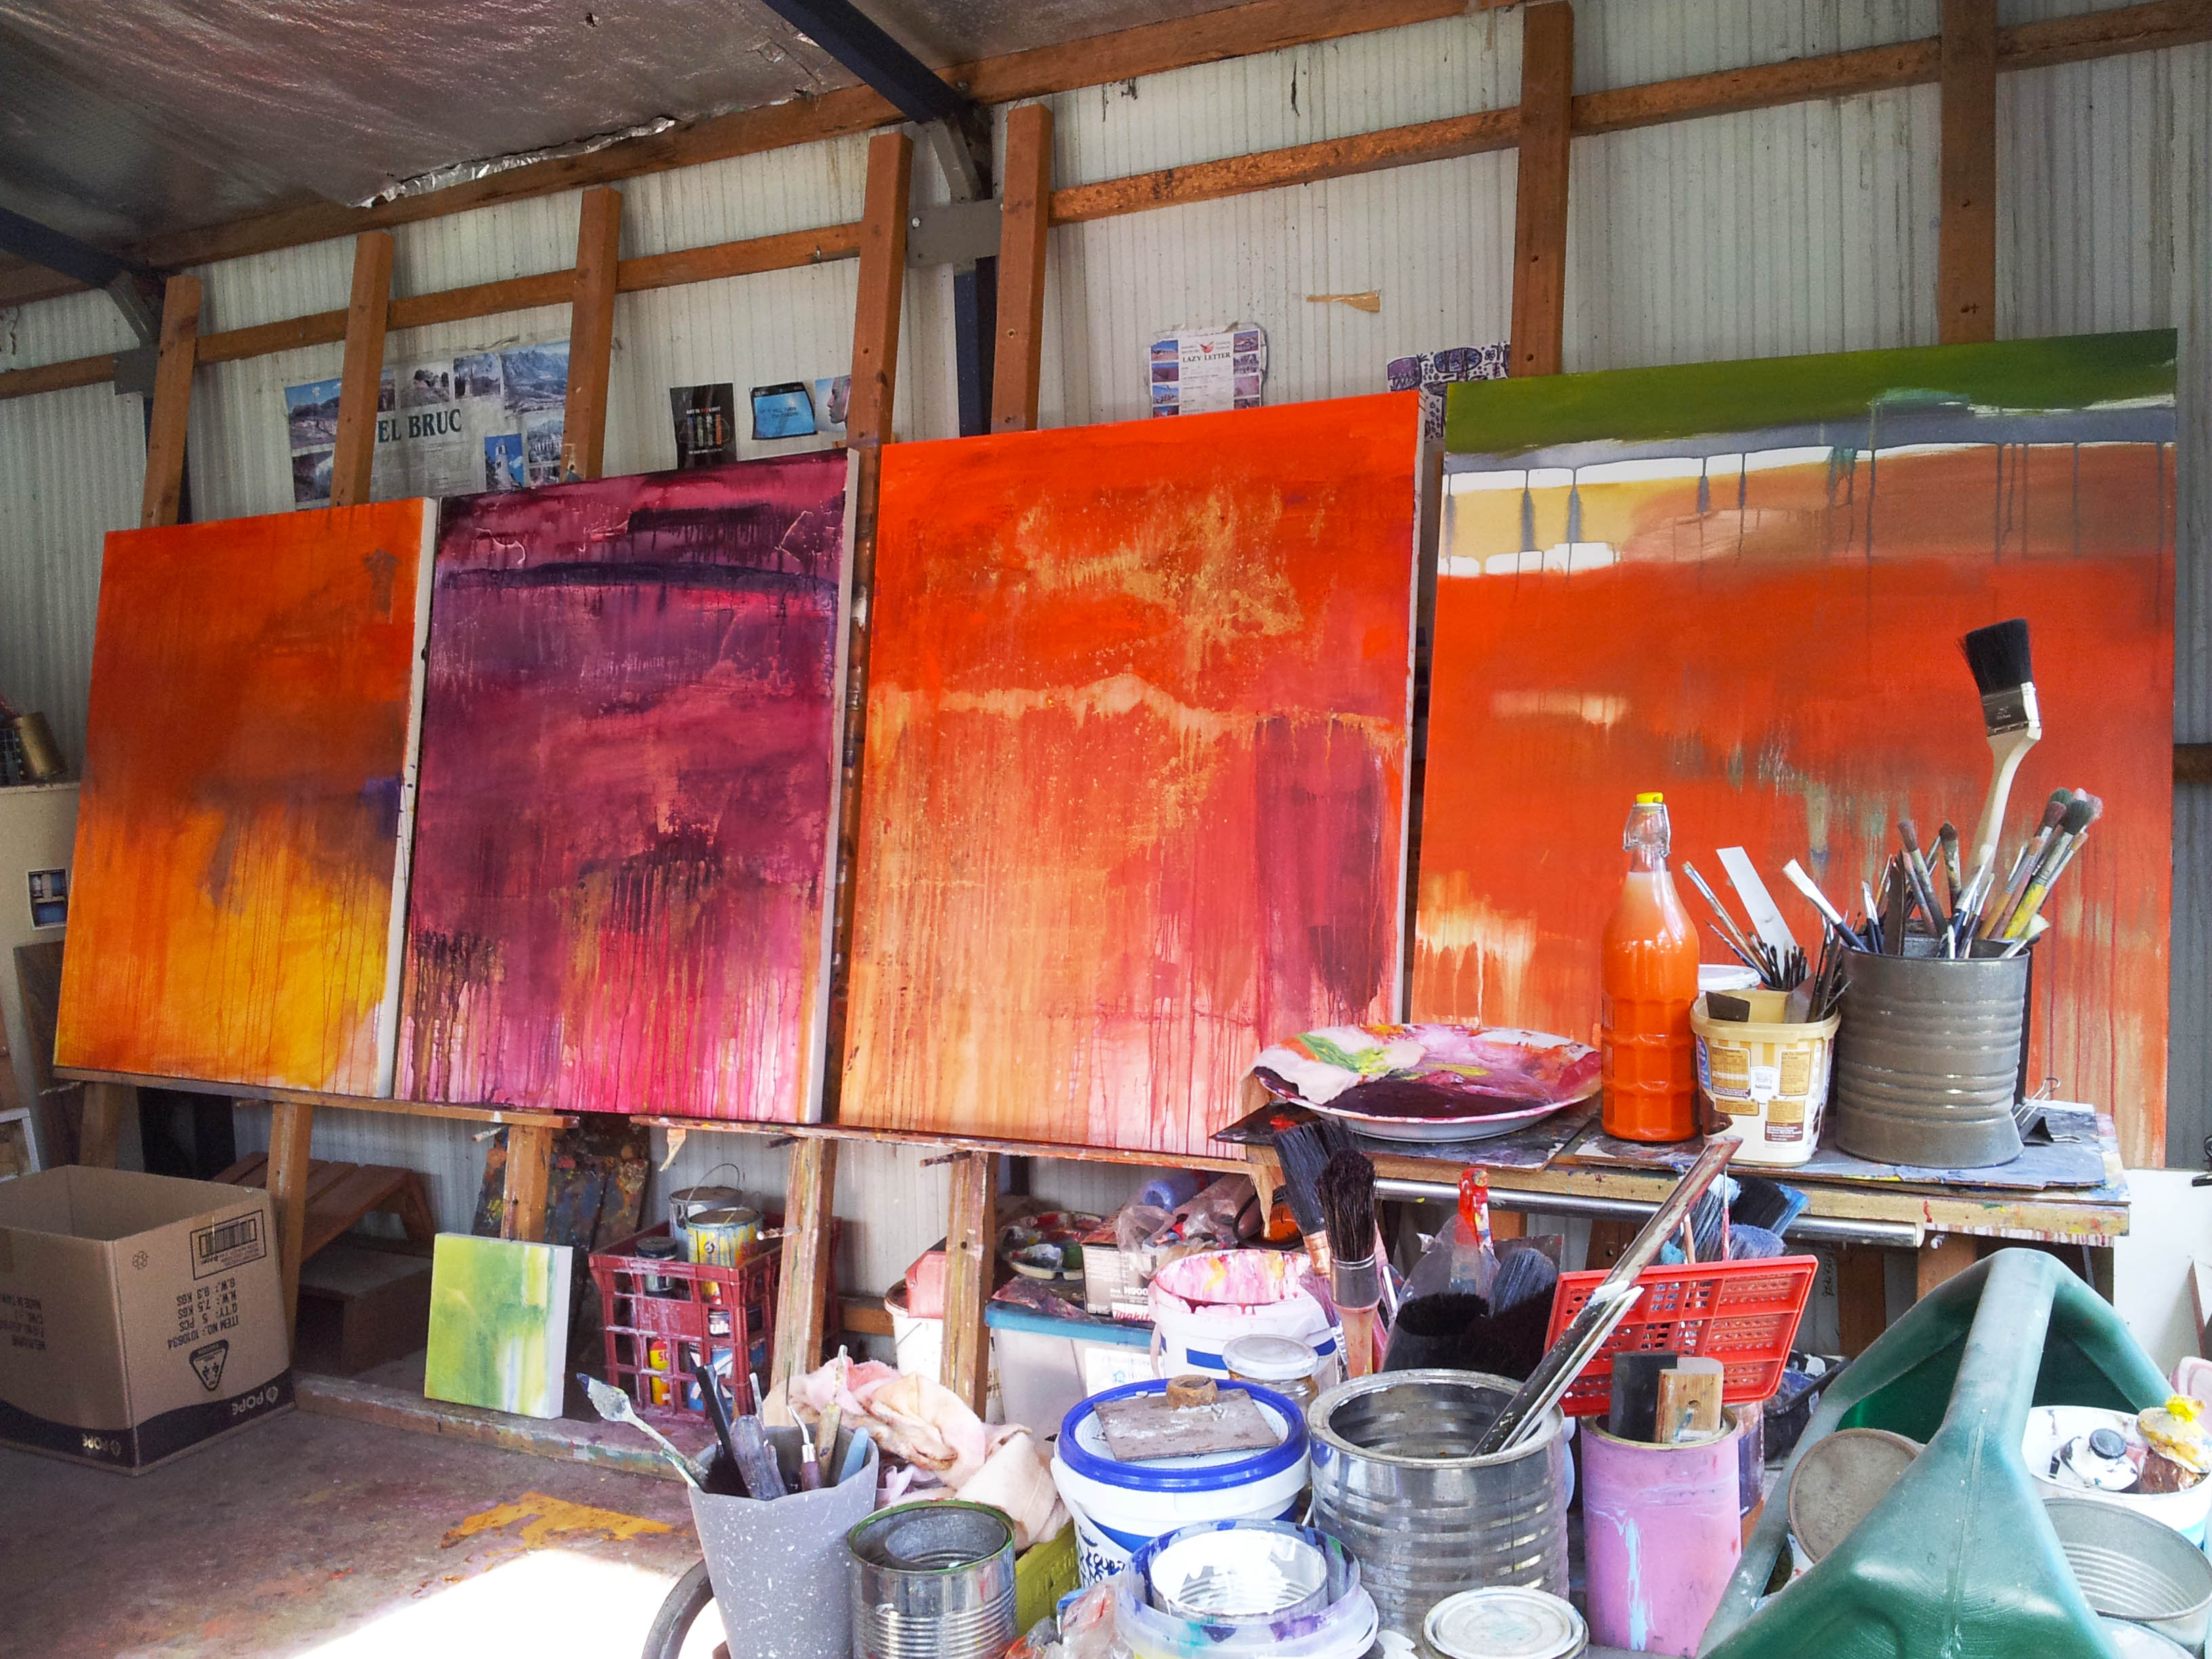
When I built my studio years ago, I needed to have a versatile easel. I couldn’t find anything suitable in the shops and my budget wouldn’t allow for much. So, I went about creating one from my left over pieces of timber. I needed one that would take small to very large canvas’s all at once. I needed lots of space too. Being an abstract painter, I slosh paint and work very quickly, sometimes on many canvas’s at once. I wanted a permanent spac,e where I could work on small canvas’s 30x30cm up to very large ones 4 x 2 Meters . My easel ended up being 9 meters long x 4 meters high and after 12 years of daily use, my rough and ready easel is still going strong.
My simple Plan
Materials & Equipment
Cut yourself, or buy 2 equal lengths of hardwood or pine, however long you want the easel to be. This is for the floor and wall runner that will hold all the upright struts.
Cut yourself, or buy equal lengths of hardwood or pine for the uprights. Decide how many uprights you want to hold your canvas .To get the length of each piece , measure from floor to top wall at the angle you want the easel to be.
Bolts, nails or screws
Wooden dowel lengths of wood for pegs
Drill with a “spade” drill bit the same circumference as the dowel pieces you have
(Spade bits are used for rough boring holes in wood.)
Tape measure
Hammer
Drill
Method
1.Everything will need to be measured and cut for the area your are working on.
2. Grab the floor runner piece, lay it perpendicular to the wall on the floor, judging the best space between the floor runner and the wall . Screw, bolt or nail to the floor at intervals to secure. (Note) Remember to allow enough space from floor runner to wall for a slight angle for the upright pieces of wood so your painting canvas can to sit without falling

3. Grab the wall runner piece and screw, bolt or nail to the upper wall at intervals and make secure.

4. Lay all your upright pieces of wood together on a flat surface together (floor )and take your drill with the spade bit and make holes from bottom to the top on all the lengths of wood. The spacing has to be equal across the whole lot.
(If painting the easel do this now before attaching to wall)
5. Take your pre- cut lengths of wood with the holes and sit each one so the bottom is sitting behind the attached floor runner and at the top against the wall runner with the holes facing you. Screw bolt or nail the upright struts to the floor runner and to the wall runner at top. (Note) Go along the floor runner at whatever spacing you want with the upright struts to be.

Almost done. Cut lengths ( 6inches) of dowel for the pegs that will hold all your canvas’s

Note: If the pegs don’t fit in the holes… Round off one end with sandpaper by hand, or with an electric sander.
All done!!! Now grab your canvas and paint to your hearts content
Tags: abstract art, Art materials, art studio, artists studio, ArtsBus, creating, creative space, easel, how to, how to make a studio easel, How To's, jenny davis, large canvas easel, outlook8studio, Painting, painting easel, painting equipment, Recycling, studio, studio design, studio easel, Uncategorised
Nice big easel! Thanks for this post. I’ve been wanting to make something similar.
Your welcome Zach…. its been really good for large and working on multiple artworks at once.
Hi- great simple idea! I have something similar made up from scrap lumber- BUT never thought of using back wall for idea board, taping up visual ‘lightbulbs’ – so thanks!
I do have modification that works for me – I slip a board under canvas ( board is 6ft long cheap cedar fence lumber) and it acts as shelf. It’s secured and stable resting on dowels and with a couple of quick toe-nail screws above. Shelf is modo great useful.
Cheers
Another great idea. l might have to try this. Thanks Bastien