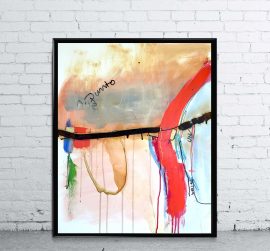
Looking to use an image of my artwork, in your next book, game, album, magazine cover, advertisement, film, prints and merchandise, then you’ll need to request a image license.
Australian requests click on the link above ^
International requests contact the artist directly info@outlook8studio.com
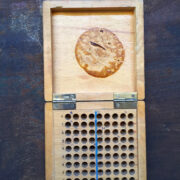
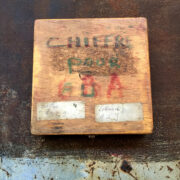
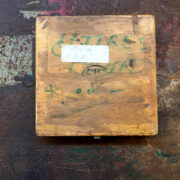
The 2 vintage boxes above grabbed me today and got me thinking…. I found them on one of my trips to France in a little old messy antique/secondhand corner shop in Asnieres sur Seine. I kept them as an item I thought I would eventually sell in my vintage shop Ateliernostagi
Now, I find them too precious to let go of. Instead I’ve decided to use them in a future art project.
Look at those marks….
Life is too short to hold onto precious things and pack them away into boxes and cupboards. Waiting for the perfect time to use them or, pass onto family and friends, who really aren’t as interested in them as you are.
Enjoy and use them while your still here!
To me, they look like some sort of storage box that may have held wooden or metal letter stamps. Maybe a hold for jewelers burs, or counters…
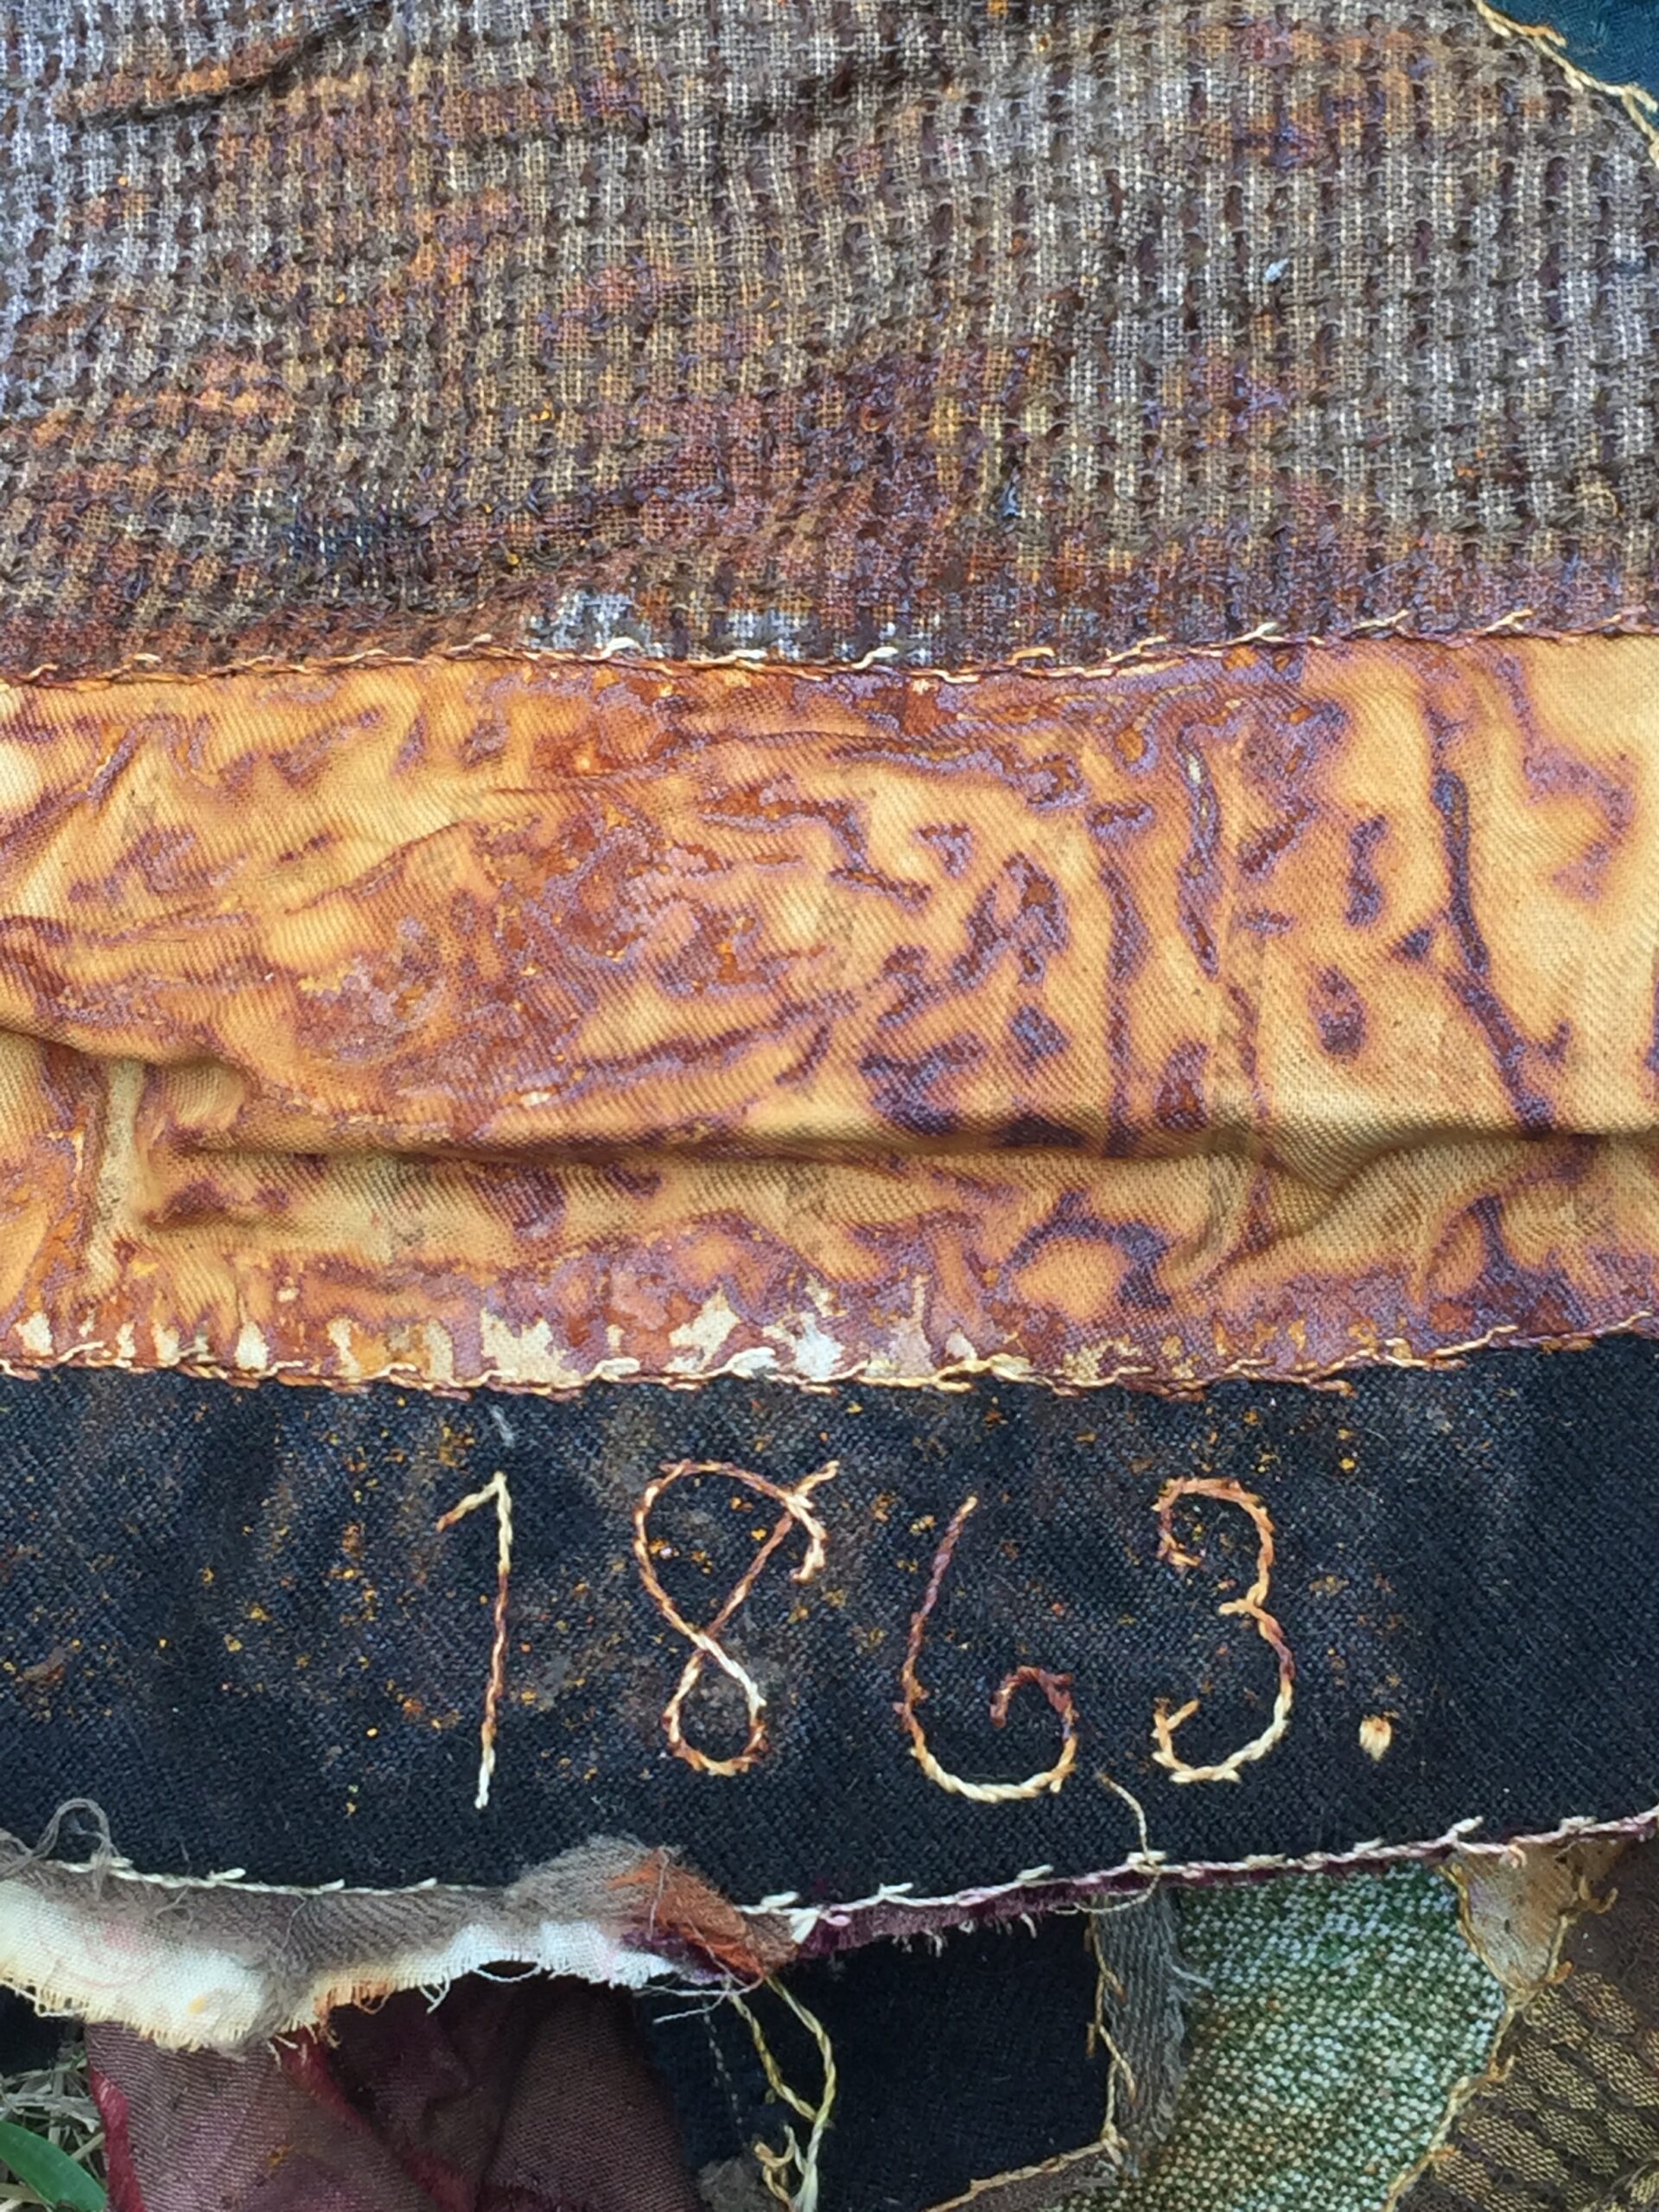
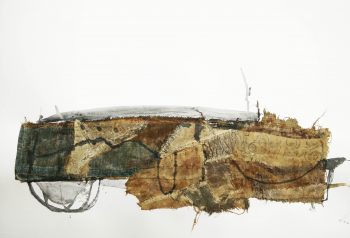
Started stitching the 3rd artwork in the “Land Wrap” series with antique textiles. I find my textile pieces are just like creating my big abstract paintings except, I’m using cloth & stitch instead of oil paint and pigment stick. A bit slower than the swish of a big paint brush or rag but worked in the same way. Antique textiles 200 years old, ink, gesso, rust, found objects and wax linen threads
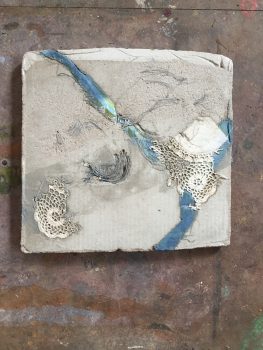
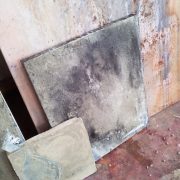
I’m not sure, if I’m finished with concrete & textiles, I was using a few years ago.. I’m thinking of very fragile wafers of concrete, sewn into, like sutures closing a wound, enhancing and protecting scars on delicate skin. Maybe it’s time to play some more…
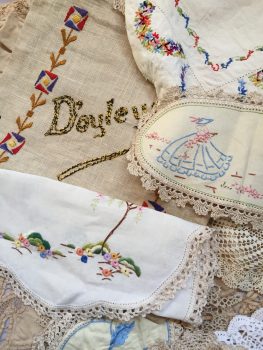
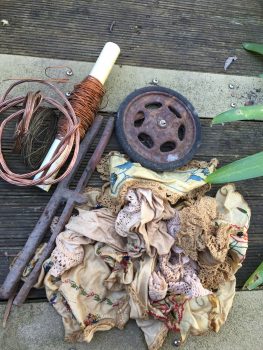
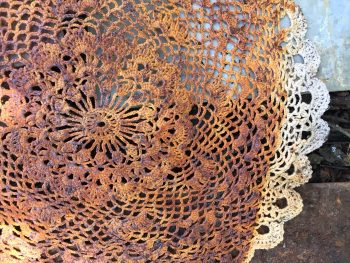
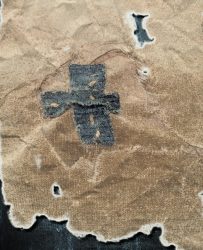
Recently, a very kind lady donated her mothers doilies to me, for my next textile, art project. Though I have found it hard, rusting and burying this lot, I was re-assured that her mother would be happy to know they were given to someone who would give them a new life.
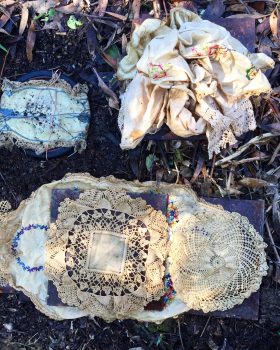
I’ts been perfect weather lately for rusting and burying.
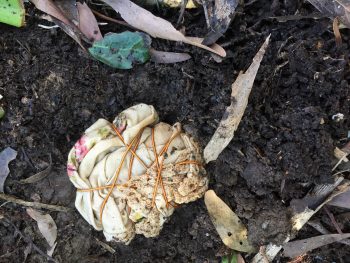
After a good soak with white vinegar I wrap some with wire.
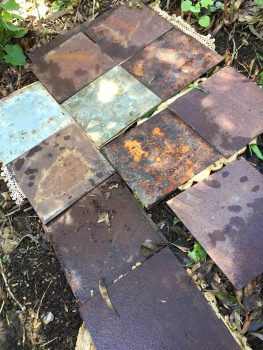
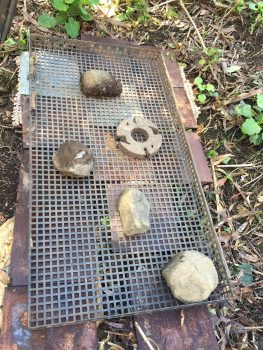
Mostly, I just lay the the cloth under a slabs of metal sheets, left over from my studio build then stack on top of one another.
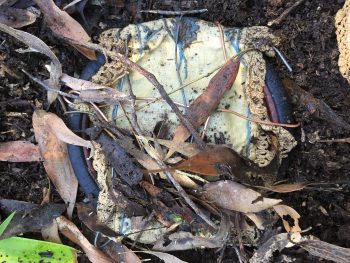
I like to get them all dirty by burying them and stacking a heaver tray and rocks on top. I leave them there from 24 hrs. or, many months until I get the look I’m after.
4 weeks underground. Final unveiling just before dunking in a sink of water and bicarb soda, to stop rusting process.
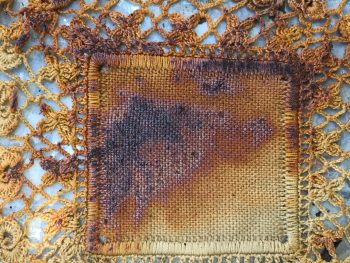
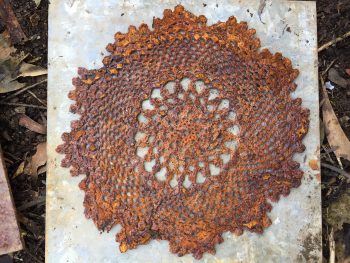
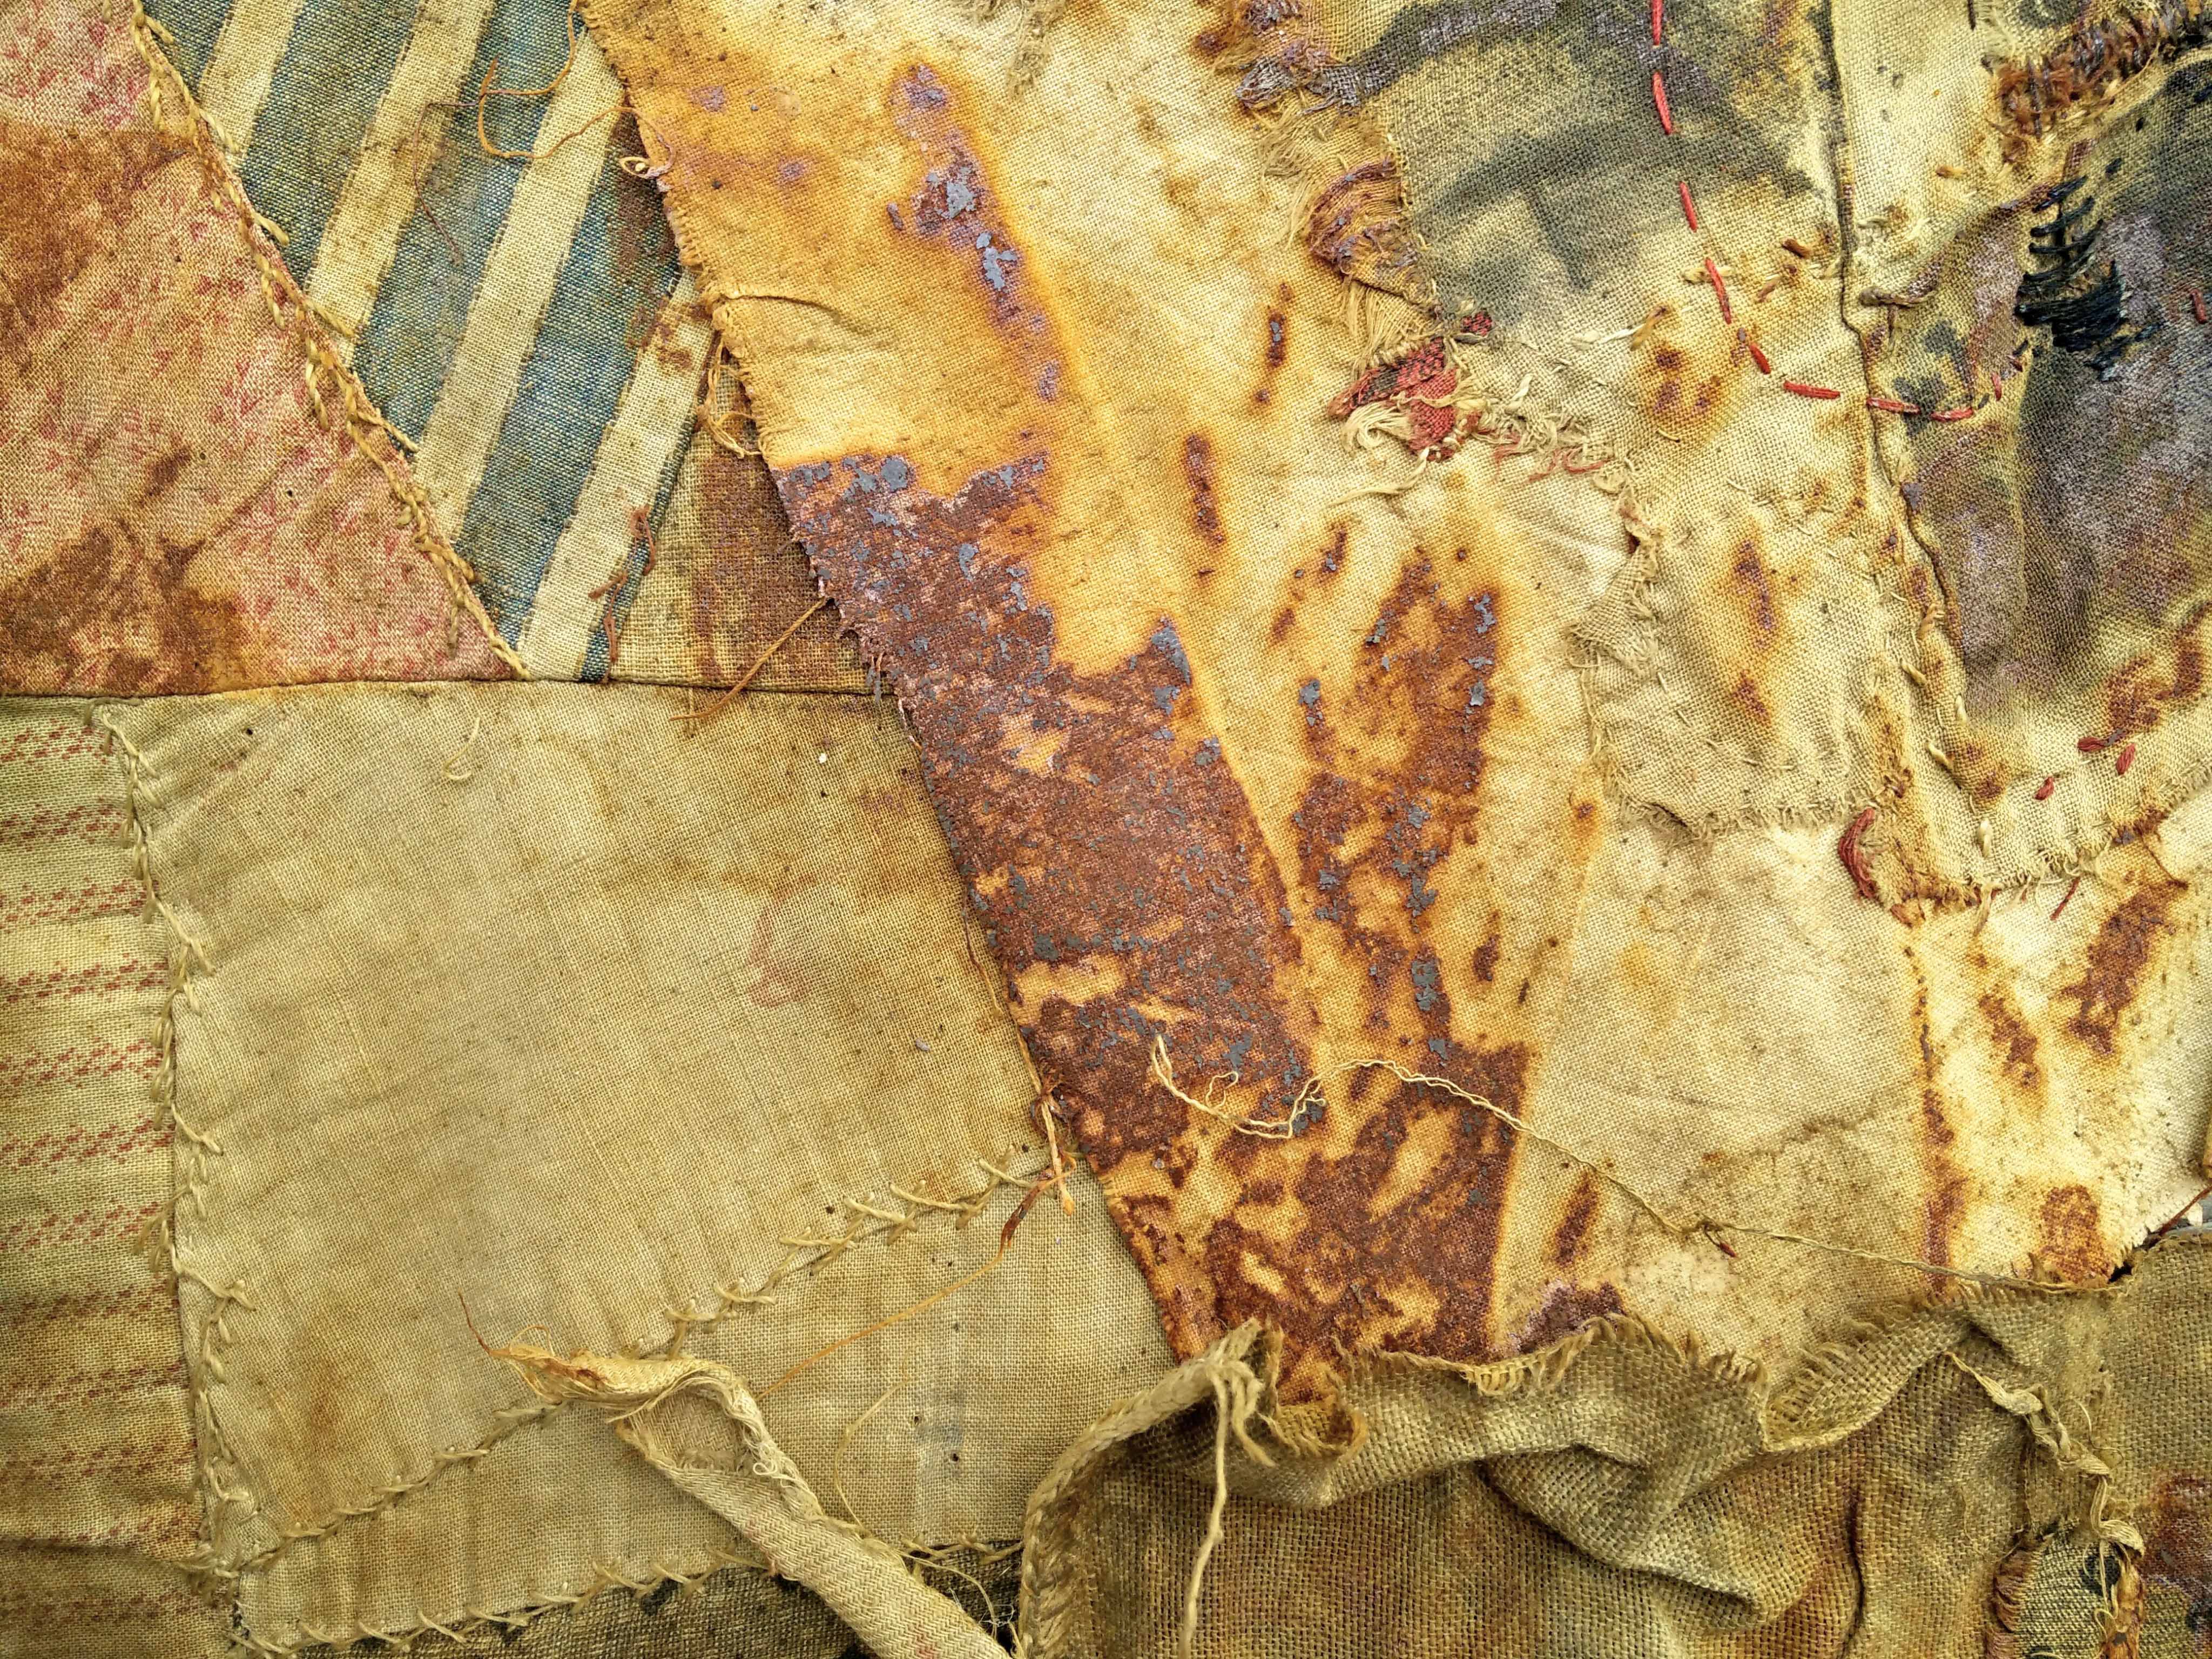
This piece really excites me with the intense rust and black marks.
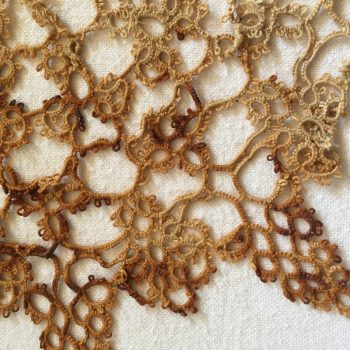
Such gorgeous delicate lace work crochet in this doily.
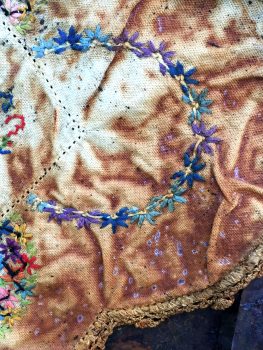
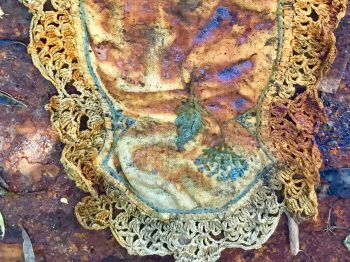
Rust n dirt with tiny black marks and colourful hand embroidery.
Rust with the contrast of beautiful hand embroidery peeking through.
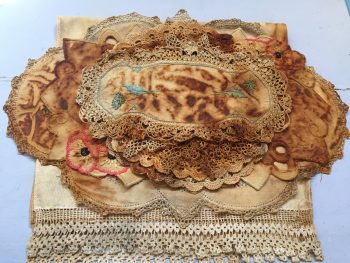
A lovely bundle of vintage rust material ready to go for new projects.
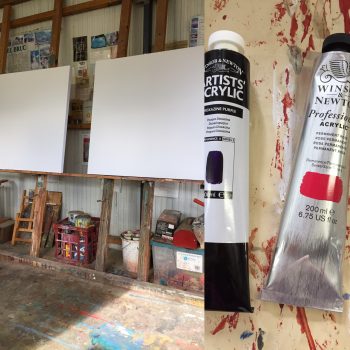
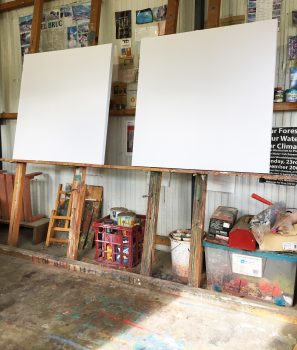
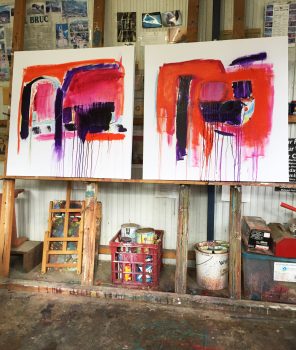
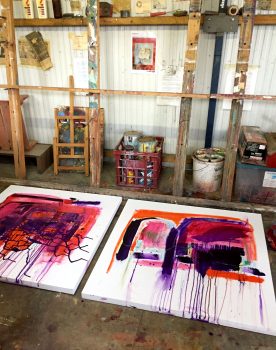
I’ve spent the past week working on a new series of paintings. A parcel arrived in the post with big tubes of colour, I hadn’t used before. What could be more motivating to get me back in the studio, than, new art supplies, especially after weeks of medical and physio appointments getting in the way.
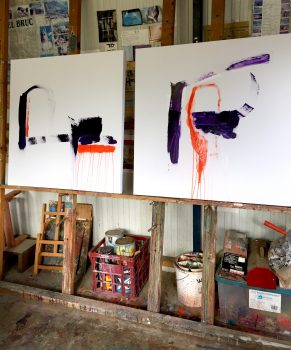
I didn’t want to open them and make dents in the big chunky tubes. When I finally did, it was quite confronting, to play with colour I knew nothing about. I took the plunge, slapped it on, moved it about, without thinking too much. Enjoying the colour, texture and flow of the paint. The process, I knew would take care of itself. I just had to be present, stand back, look and go back into it.
Quickly, I came up with the first layer which I was very happy with. Of course, I went back in with more layer’s wanting further depth and richness.
I now, look back at the photos, taken at the start of the process and maybe, I lost the freshness, freedom and flow of the marks I had at the start. Maybe, I didn’t need to go any further…
I believe sometimes, the essence of the story is at the beginning and “nothing else” is needed to tell it.
Update 2018! Since writing this recipe in 2014, Ive been using this homemade Gesso recipe, for 14 years now and haven’t had an issue, with ageing, layers coming apart, seepage, changes in colour etc. on any of my artworks. I use it with both oil and acrylic paints. I also seal my papers with it when, making books, sewing on paper, paper for collage, painting with paint, inks etc. As to the quality, I find the homemade isn’t as white, but just as good quality, as professional artists Gesso. I also use store bought gesso too, if I’ve run out and for convenience. My version is more gritty, than store bought, but if you sandpaper in between coats, I find it’s not an issue. For me, this recipe is just as good as, the store bought and if you use archival PVA/Elmers glue, it will make it all the more stable, for longevity.
I love Gesso paint and use heaps of it in my work. It’s gritty, chalky and can be applied to artwork to give a translucent or opaque look. It’s also very expensive so I decided to make my own.
Gesso is used for many things such as a primer for canvas or on paper to give a good base for painting, drawing or mixed media work. When making collage I use it as a gluing medium to stick on papers, in-between, painting and drawing layers.
The recipe below makes 2 litres of Gesso paint
( If not using straight away, this Gesso will last approx. 4-6 weeks)
Homemade Gesso
PLASTER MIX
1 cup Plaster of Paris or fine white plaster powder
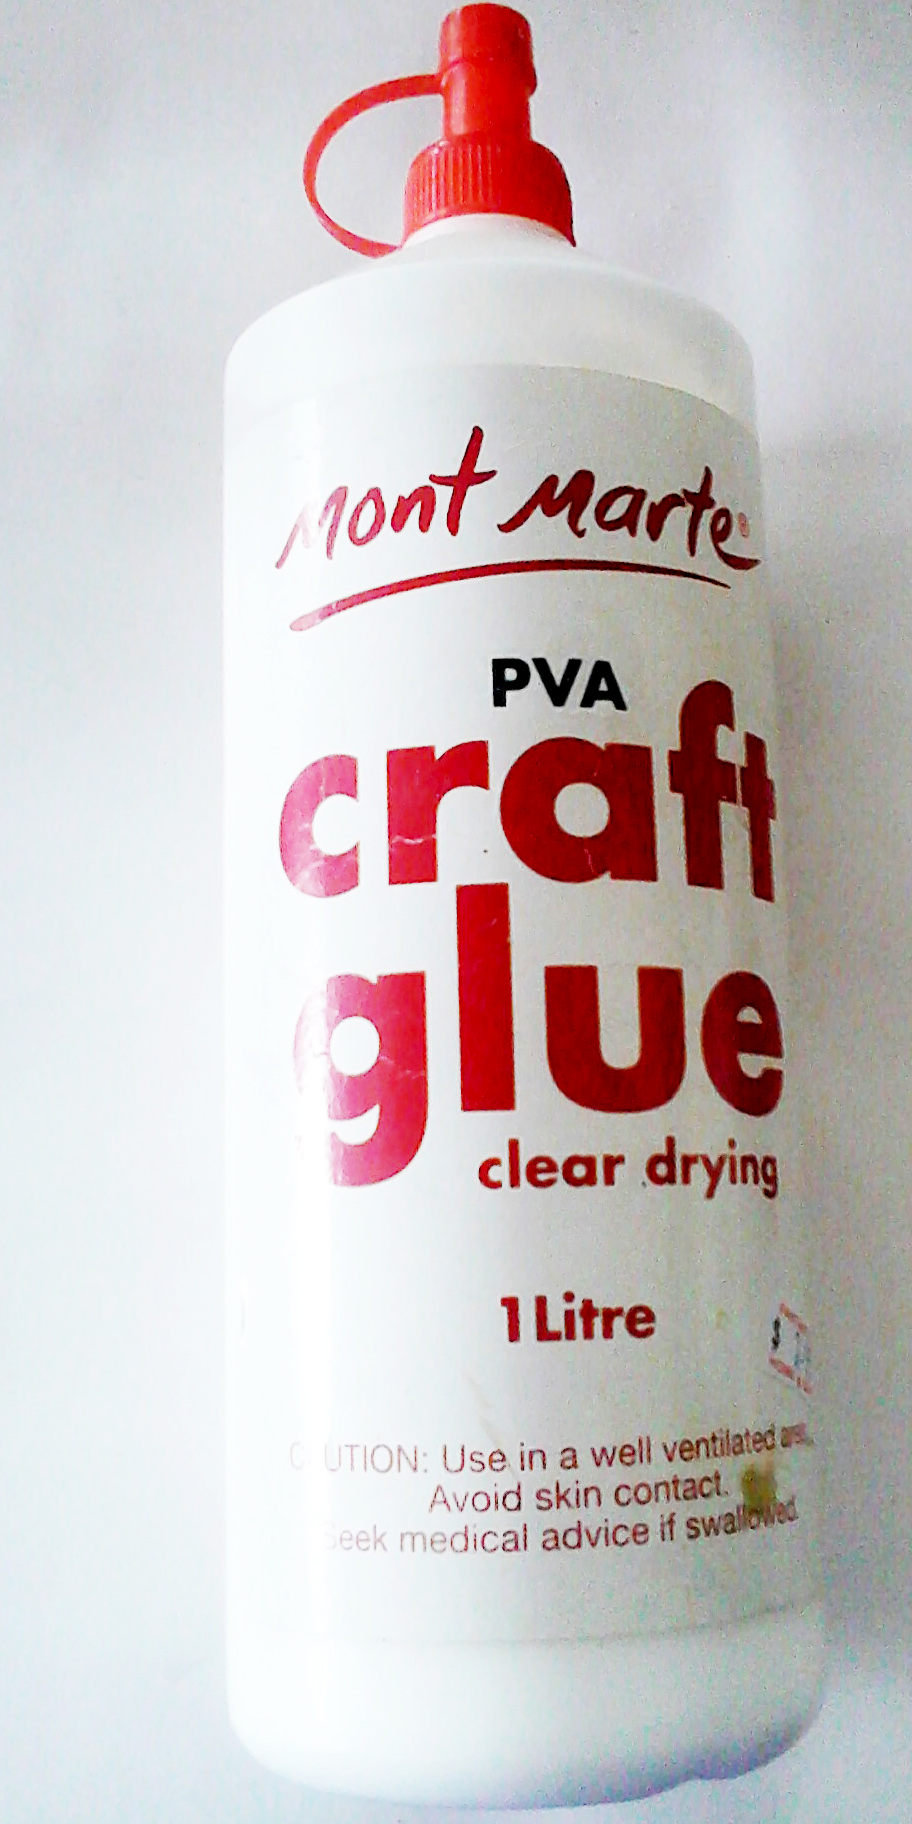
1 cup of PVA or white glue (archival if available)
1 cup hot water
PAINT
3 cups white acrylic paint
UTENSILS
Container, cup and mixing stick or spoon
RATIO: 1-3
Plaster Mix 1 – Acrylic paint 3
Method
To make the plaster mix. Add the plaster to the hot water and stir ( Safety purposes: always add the plaster powder to the liquid, not liquid to plaster, as it will blow up into your face and always wear a dust mask)
Dust Mask
“Plaster of Paris” and cup
Hot water and mix
Next add the PVA or white glue, stir.
Finally add the white acrylic paint and mix. ( I used some acrylic powder paint I had and made it up with water) You can use any kind of acrylic paint or colour .
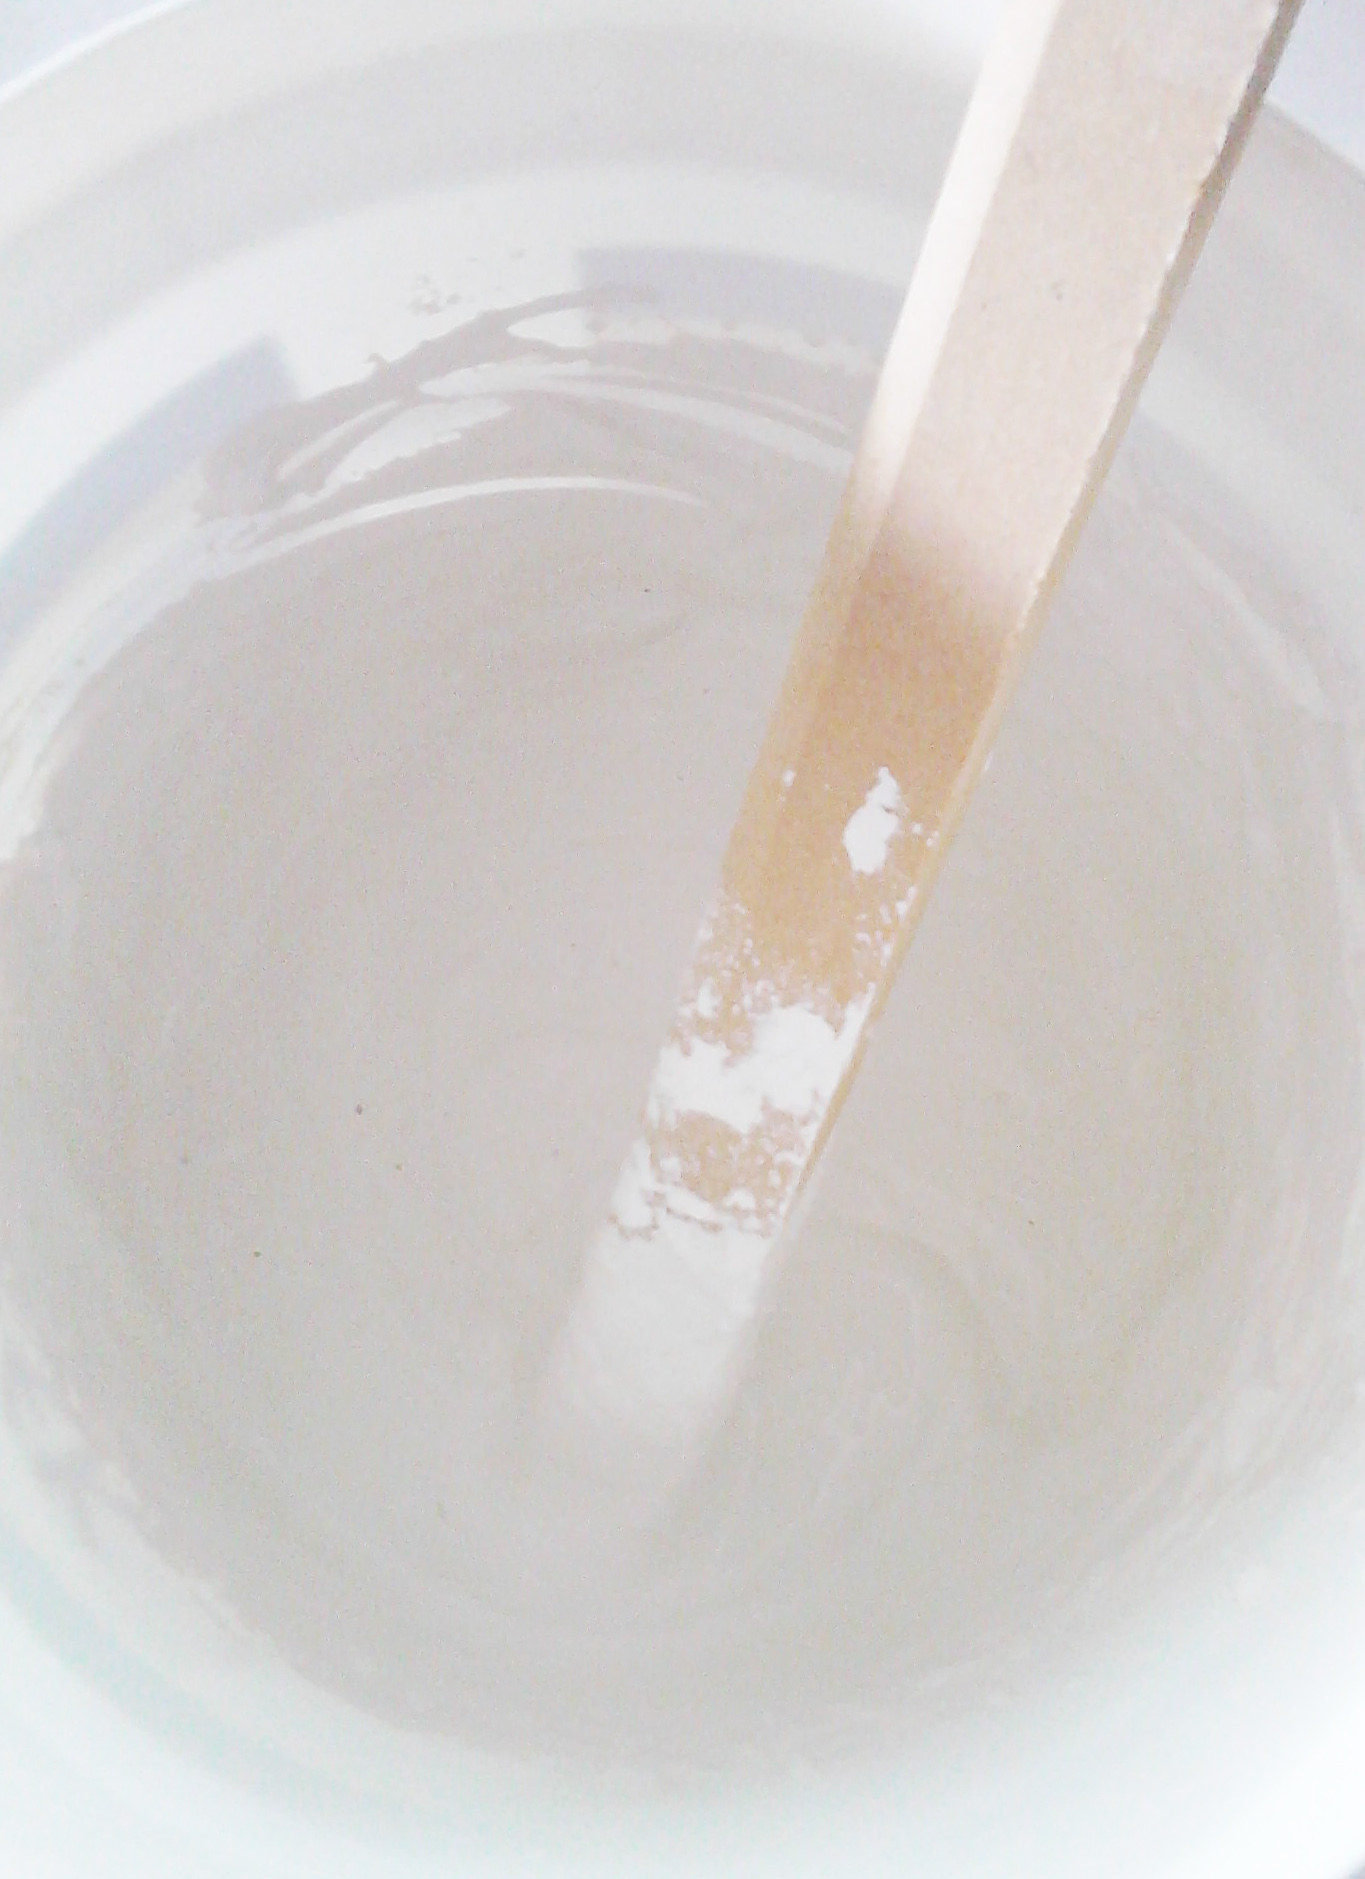
Result
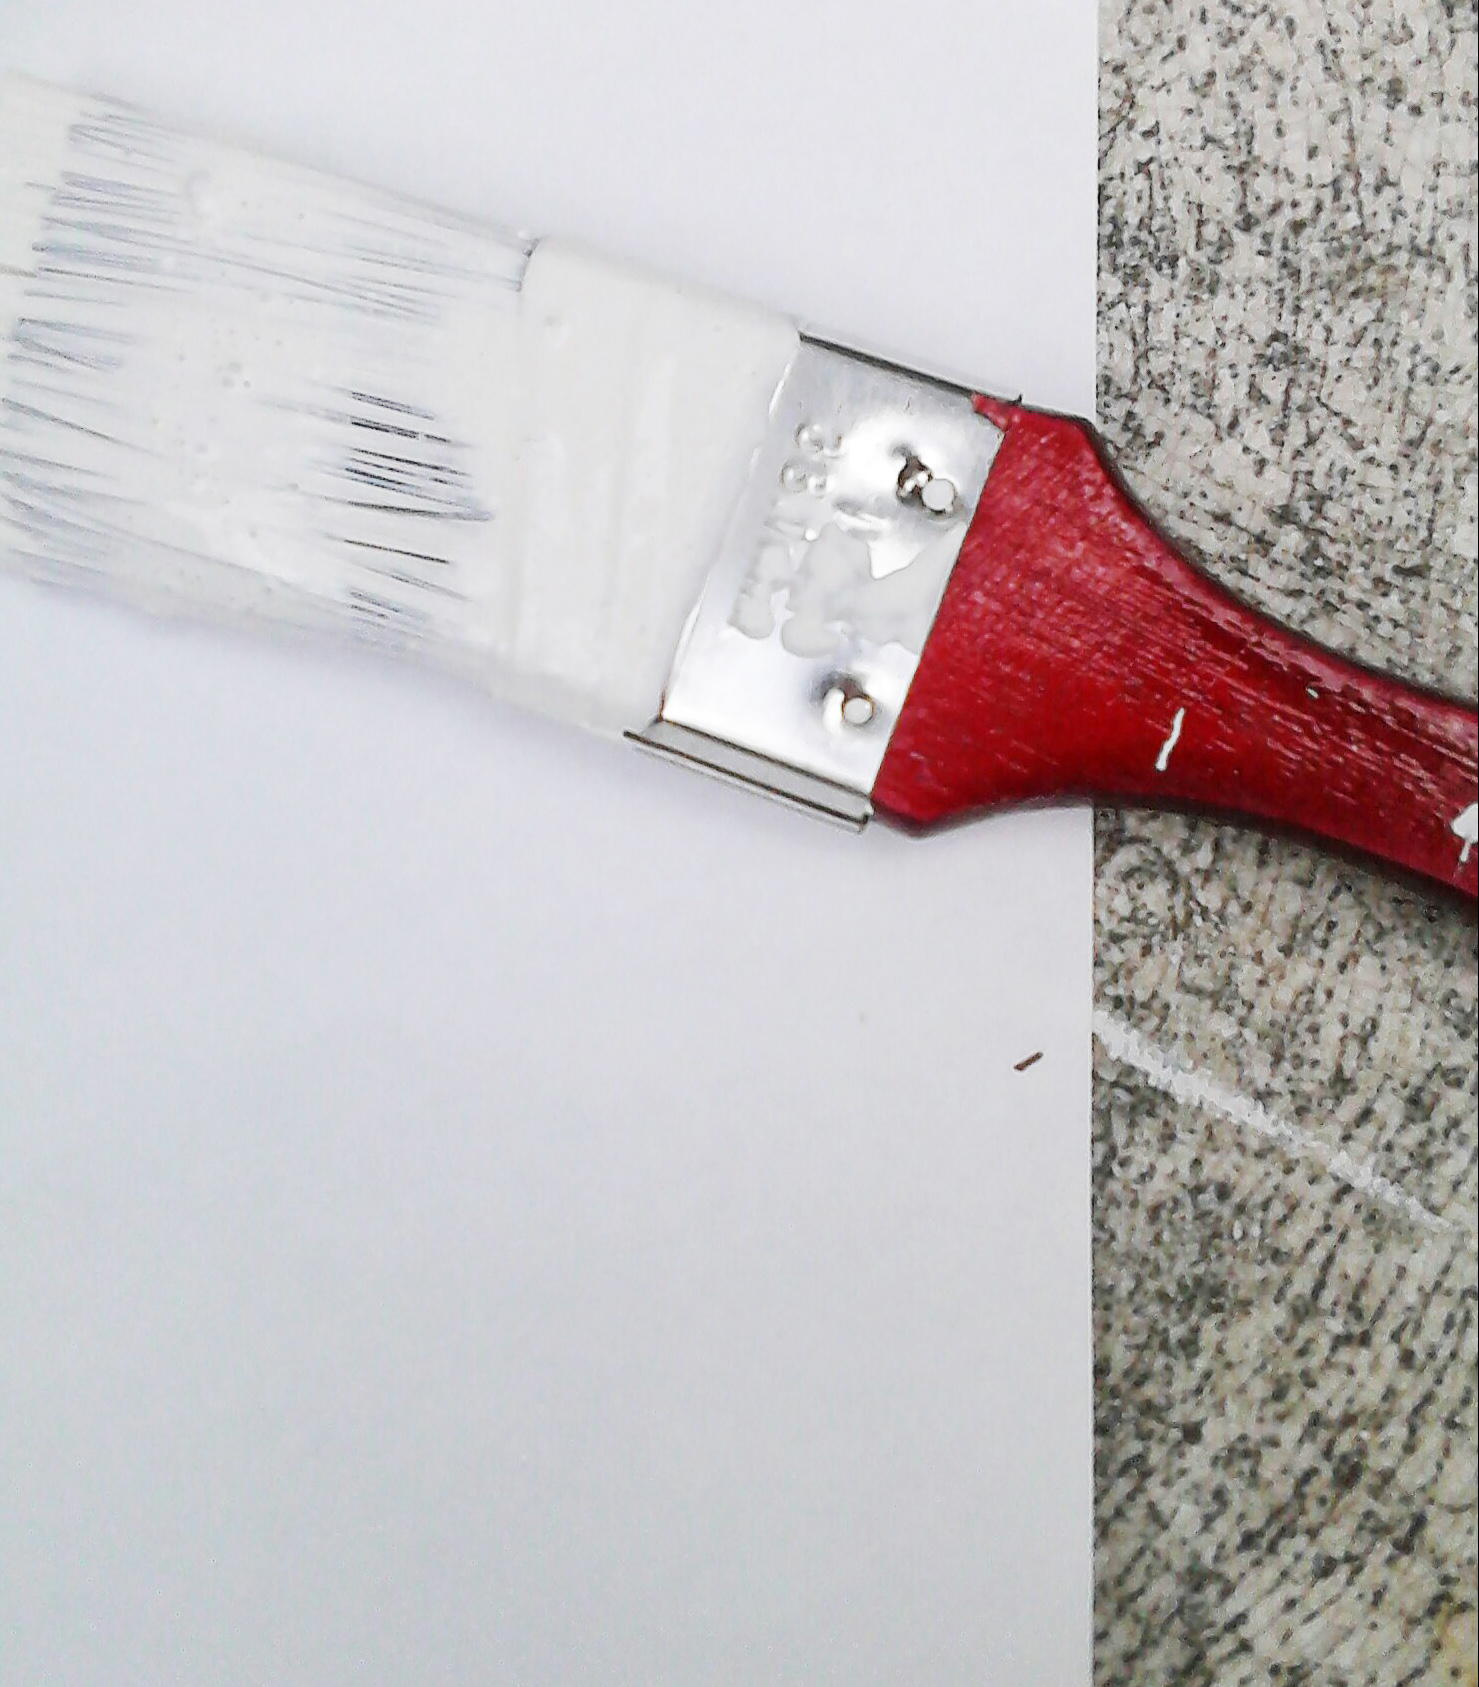
I was very happy with the result. The gesso is translucent with the gritty bits I like. You can also do several layers of gesso to give a more opaque appearance. It covered my canvas very well with only 1 coat. When adding more than 1 coat you can sand in- between to give a really smooth surface for detailed work .
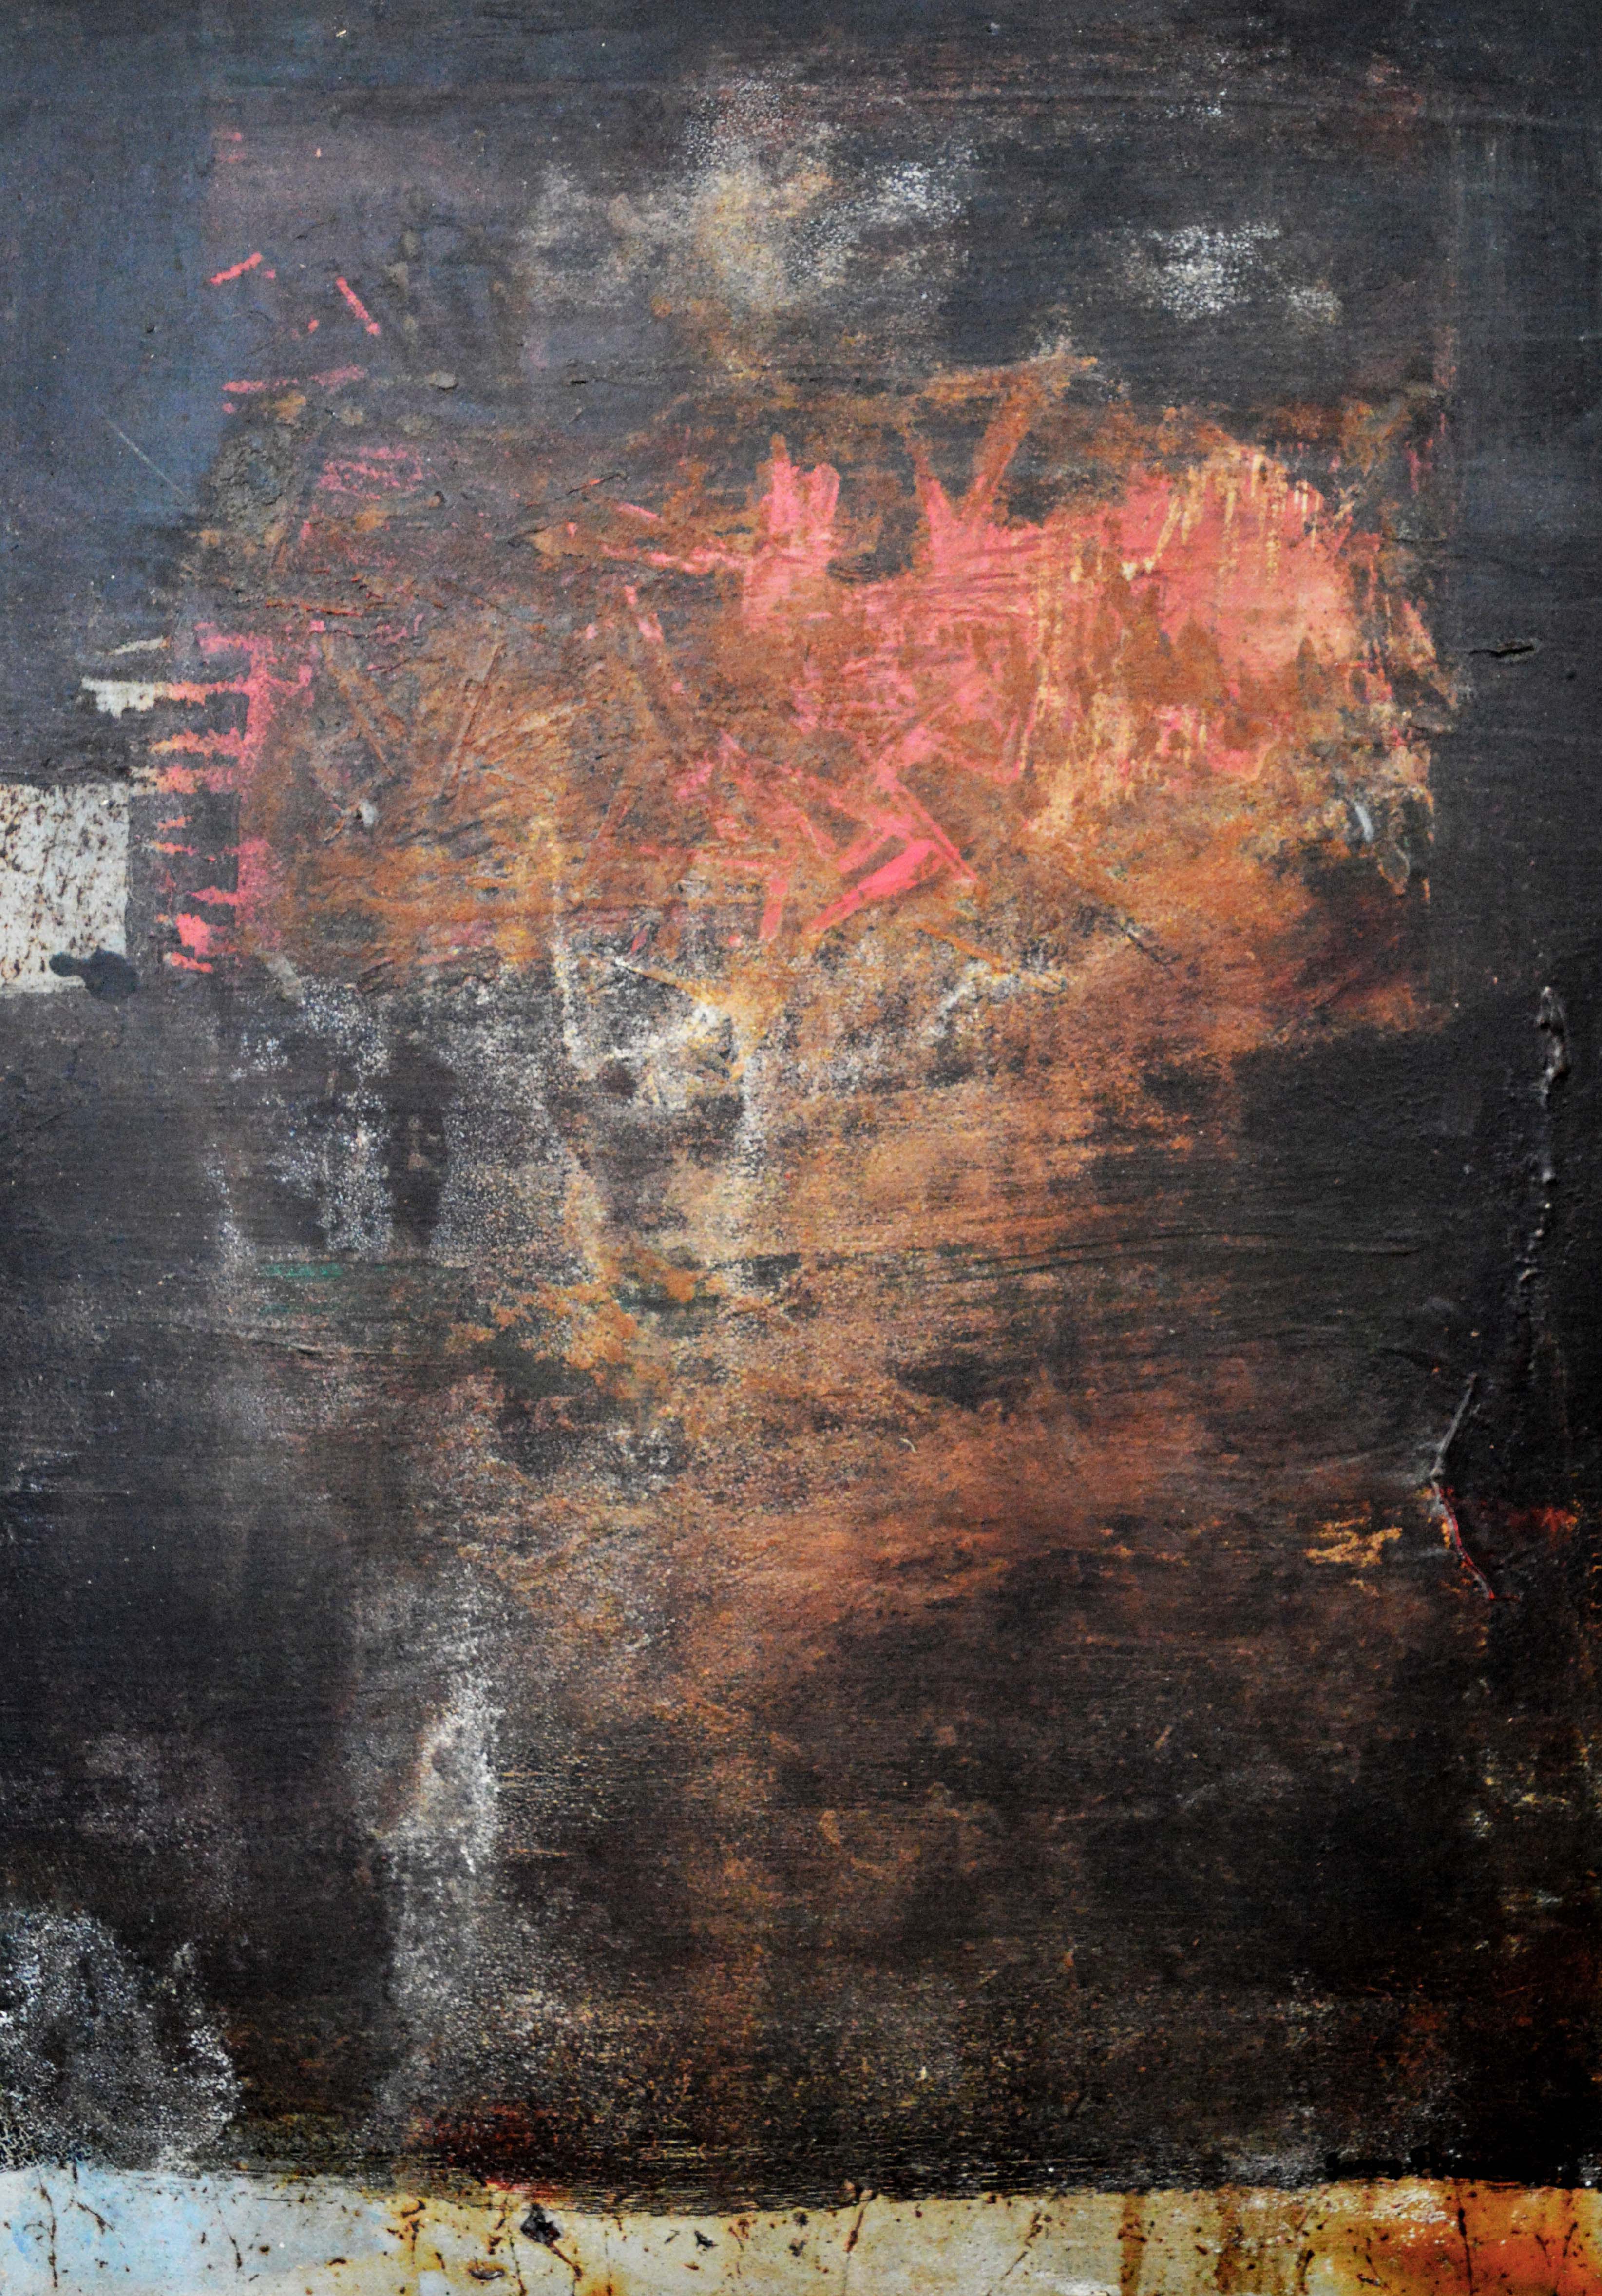
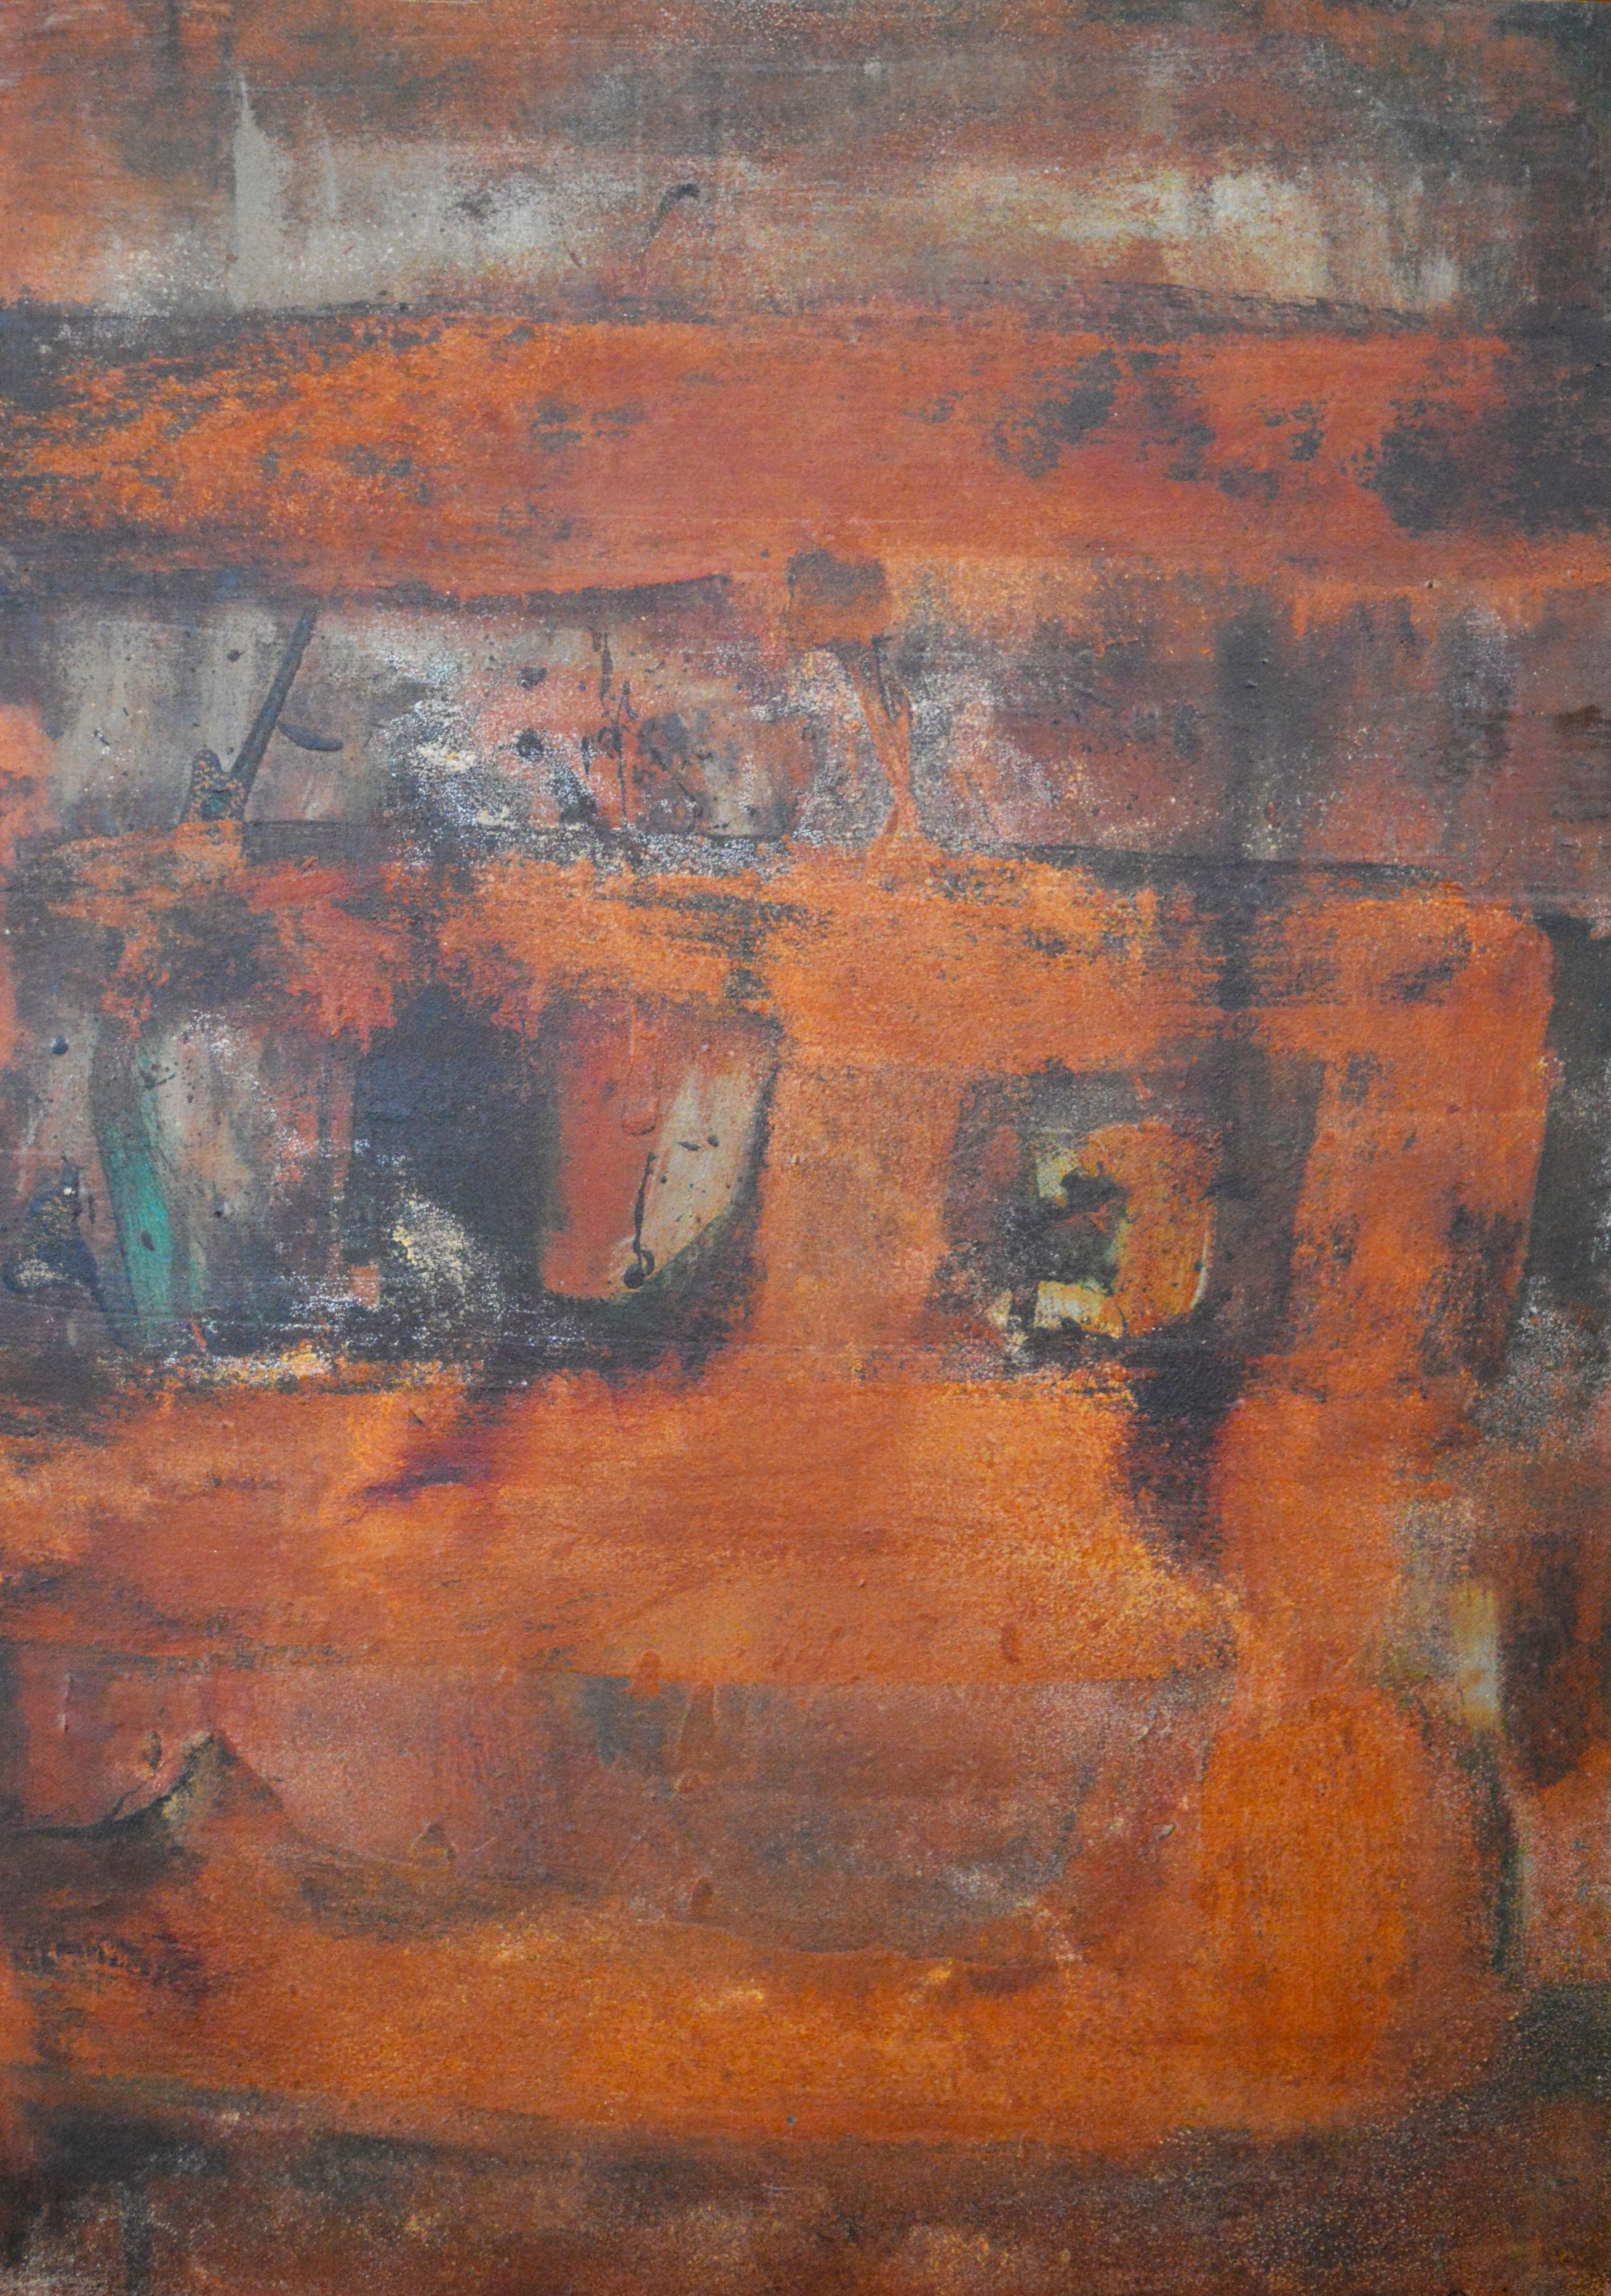
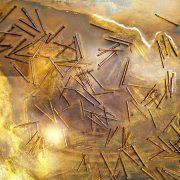
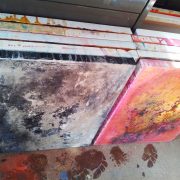
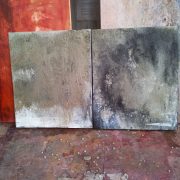
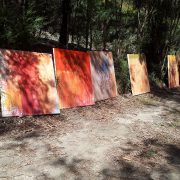
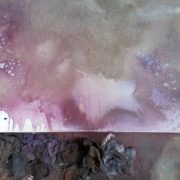
New paintings available in my gallery. “Rustmatter” series. I want to capture the “beauty & hope” in decline, before its gone and continues my investigation into the disintegration and decay of the environment, of life and the human psyche.
Experiments with layers of rust, paint, iron shavings and salt. Finally, surfaces emerged, worn , weathered and sometimes ancient. I then sealed the paintings to keep stable and lock in the layers.
Each painting is a visual and textural descent into the abandoned, the derelict, the vacant and the forgotten. Curator & Arts Writer,Dr. Ewen Jarvis.
As a small child I pulled things apart. Even, before I could talk, I ripped apart dolls and toys. I used to make little displays, installations of the fragments and other discarded things. Today I still pull things apart. I find fragments more pleasing and sometimes, even more interesting than the original object.
Recently, I pulled apart an old chair that had been hanging around for years. The wood was still good. The cloth and leather had grit and rust, just perfect for sculpture. The rustic bits and pieces also related to some textile fragments, I unpicked from an 1800’s, quilt topper. I’m still working on outcomes and painting has crept in too. Below are some pics of the process.
When I first started painting, the thought of stretching my own canvas was frightening, but after a few attempts of stretching a canvas it came to me automatically. I was able to make canvases for half the price of store bought ones. Also, stretching your own canvas can trigger off the beginning of the creation through the hands on process of doing it yourself. Hope this helps.
Materials and equipment
Pre- made stretcher frame/ or self-made
Canvas material cut 10cm approx larger than your stretcher frame
Canvas staple gun
How to Stretch a Canvas
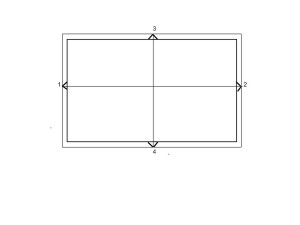
Lay your canvas on a flat surface wrong side up then lay your stretcher right side down on top of canvas. Pull the sides of your canvas up and round to the top of the stretcher.
DIAGRAM 1 Secure the 4 points with staples or tacks to create a diamond shaped wrinkle in the canvas. Check diagonals and adjust the stretcher for squareness before going further.
DIAGRAM 2– Secure the canvas to the stretcher with staples approx. every 6 cm. around the edge, working from the center points outwards. Pulling the canvas as you go. Continue working out to the corners in this pattern. Do not overstretch the canvas. When applying tension, the canvas pliers should not be forced to pull the canvas in place. The tension of course will become greater as you work towards the corners.
FOLD– the corners under; as neatly as you can, leaving no exposed tab that maybe caught and damaged. Staple or tack excess canvas that wraps around to the back of the frame.
HINT– Once finished and your canvas and is not as tight as you would like, fill a small spray bottle with luke-warm water and spray the canvas on the back. Once dry your canvas will be as tight as a drum. Happy painting!
Everybody who knows me, knows, how much, I love metal, rust and decay. Many years ago, I collected old rusty, metal objects from the roadsides and turned them into sculptures. I also gained my certificates in welding. At the time, with myself and 3 children to support, I welded in factories to make a living and in between, I made sculptures from the rusty found objects. I don’t weld much anymore, as it’s a problem for me to move around the heavy metal, but I still have a large collection of smaller bits, I use, to rust up, paper, objects and textiles for my projects. Lately, I have been playing around with some commercial rust paints.
Today, I tried out, Botanic’s rust paint, from L’essential in Australia. I love the fact they are all environmentally-conscious products, free from nasty additives and are preservative-free where possible. They smell good too. I’m very pleased with the result and it does, really look like rust.
I love Gesso paint and use heaps of it in my work. It’s gritty, chalky and can be applied to artwork to give a translucent or opaque look. It’s also very expensive so I decided to make my own.
Gesso is used for many things such as a primer for canvas or on paper to give a good base for painting, drawing or mixed media work. When making collage I use it as a gluing medium to stick on papers, in-between, painting and drawing layers.
The recipe below makes 2 litres of Gesso paint
( If not using straight away, this Gesso will last approx. 4-6 weeks)
Homemade Gesso
PLASTER MIX
1 cup Plaster of Paris or fine white plaster powder
1 cup of PVA or white glue
1 cup hot water
PAINT
3 cups white acrylic paint
UTENSILS
Container, cup and mixing stick or spoon
RATIO: 1-3
Plaster Mix 1 – Acrylic paint 3
Method
To make the plaster mix. Add the plaster to the hot water and stir ( Safety purposes: always add the plaster powder to the liquid, not liquid to plaster, as it will blow up into your face and always wear a dust mask)
Dust Mask
“Plaster of Paris” and cup
Hot water and mix
Next add the PVA or white glue, stir.
Finally add the white acrylic paint and mix. ( I used some acrylic powder paint I had and made it up with water) You can use any kind of acrylic paint or colour .
Result
I was very happy with the result. The gesso is translucent with the gritty bits I like. You can also do several layers of gesso to give a more opaque appearance. It covered my canvas very well with only 1 coat. When adding more than 1 coat you can sand in- between to give a really smooth surface for detailed work .
2 litres of Gesso
Gesso on stretched canvas
Gesso on paper
To see this and more of my free tutorials, please go to Tutorials I even show you how to make my large studio easel.
A few years ago, I changed from oil paints, to acrylics, after I became allergic to the turps. I’m still not used to painting with acrylics as, I just love the lushness, depth and movement of oil paints. Something, I haven’t been able to achieve with acrylics. So, recently I bought some oil painting supplies, eco friendly turps, to see, if I’m still allergic to it.
The life of a Painting.
Oil paint , medium, wax on canvas
Sometimes I think, I should stop earlier, when its fresh and spontaneous, but usually keep going. I just have to trust the process and know, that eventually, I will end up with something I’m happy with.
I will revisit the painting, in a few days time to decide, whether I will take it further. At the moment, I’m feeling, times long past.
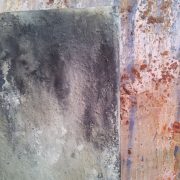
The process of transformation. Time, change, erosion and decay are qualities I like to celebrate. I examine and explore, the properties and possibilities, of my material and want to push the boundaries of something to get a deeper understanding.
In my latest project, I’m working with textiles over a 100 years old. I want to work with the worn and deteriorated textiles and collaborate alongside those, who in the past, so carefully stitched, mended and created, the pieces for comfort and warmth.
Each piece was once, carefully hand -stitched and now, breaking down and worn. I have very selectivity pulled apart and unpicked areas, and kept some intact.
Some areas of fabric, are so badly worn it breaks in my hands, so I have to reinforce it. Most pieces though are just left in their original state.
I then, like to push the process further with, natural & rust dying methods, mark making, hand stitching and painting with caste iron, botanical paints.
Numerous times, I expose the materials to the elements to experience the changes.
Getting to the essence of my material helps me to translate and describe its being. I rarely know the outcome of my projects and just go with the flow.
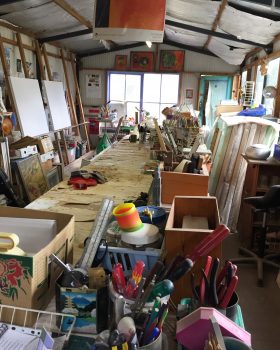
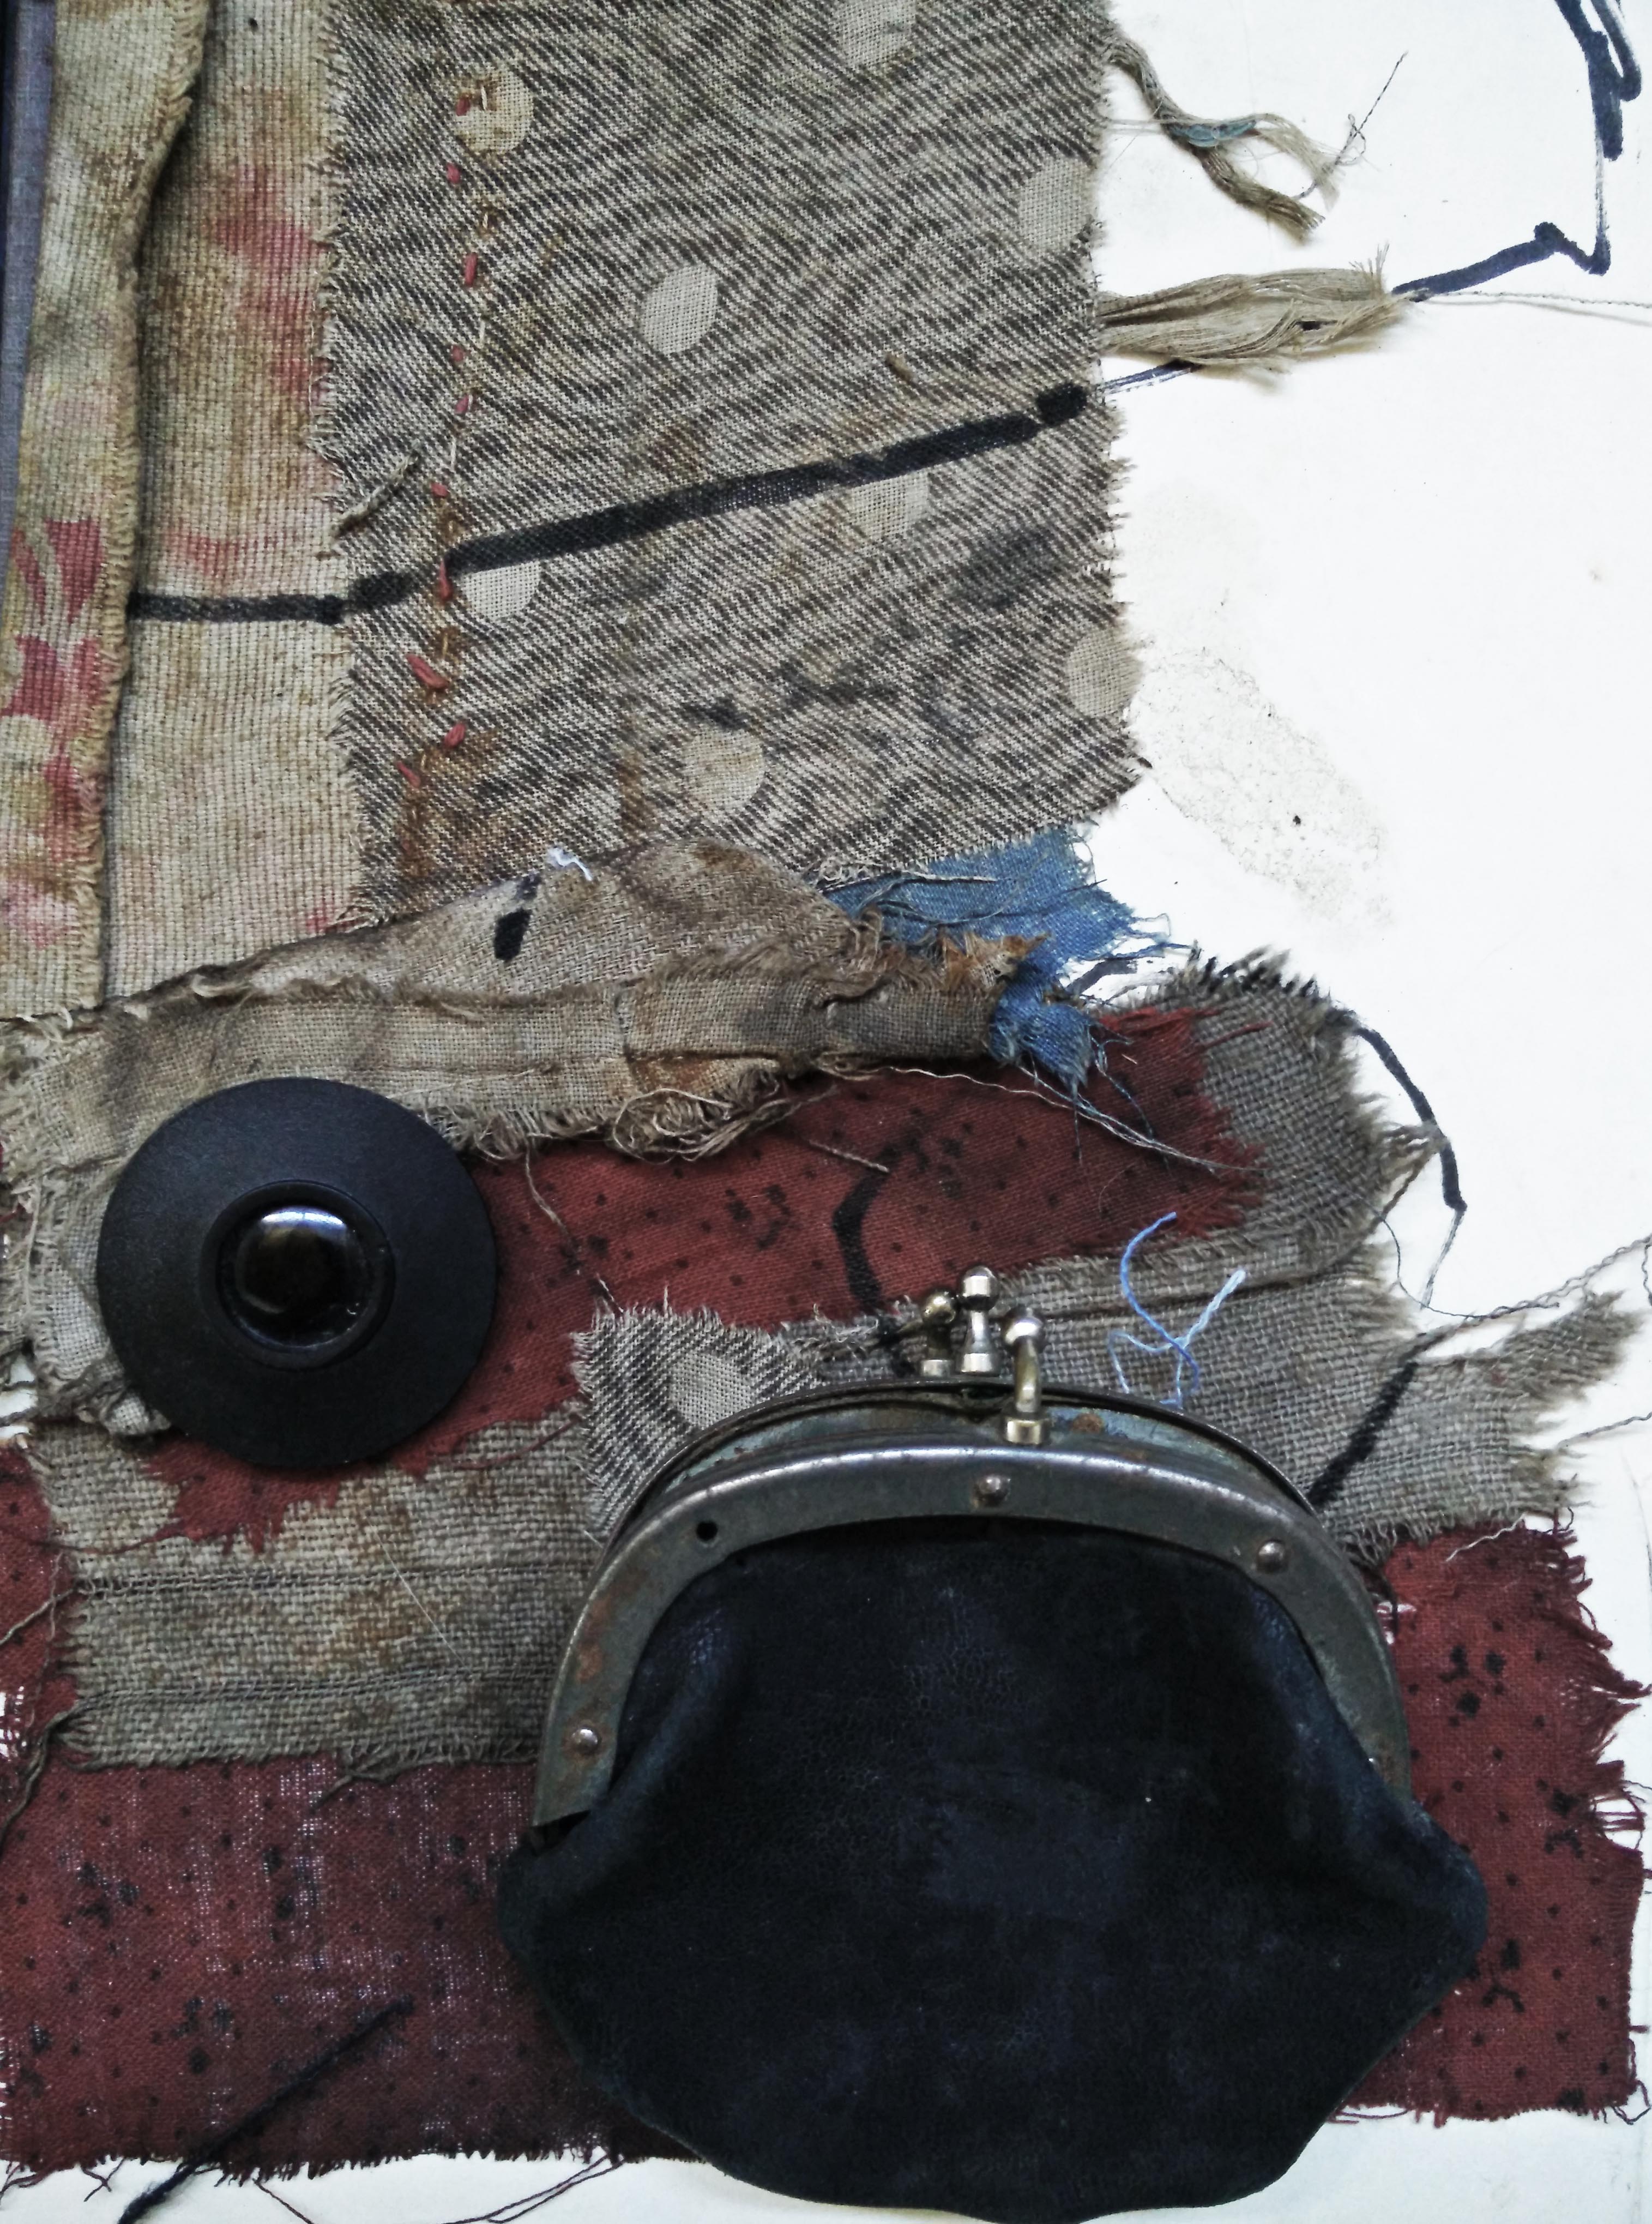
Sometimes, when I’m stuck for ideas making artwork and it’s just not happening, I like to throw a heap of things together and arrange them near my work.
The items, may relate in colour, texture and type or be opposing which, I find much more exciting. Your brain will automatically try to come up with solutions. Expanding your ideas and creating new ones.
The flow on of ideas is sometimes amazing. It can lead to, resolving the artwork in front of you, as well as, give you ideas for a whole new body of work.
Juxtaposition and connections of items together seems to work for me.
I believe there is a creative force that is connected to everything we do.
When making my art, I rarely follow rules. Not knowing, techniques, materials and technology, doesn’t bother me and can be a blessing. It gives me more freedom to play around and discover things, that wouldn’t otherwise, be found.
A few images of recent experiments in Photoshop and other programs using my own artworks.
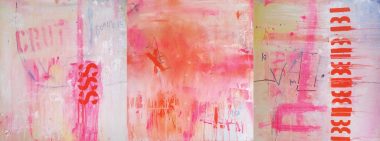
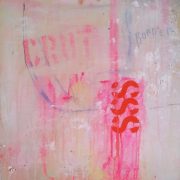
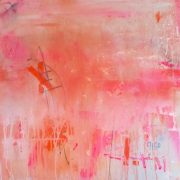
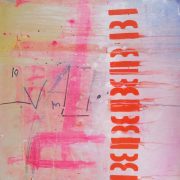
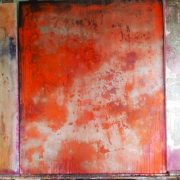
3 new paintings, well, it’s actually one painting, a triptych, I did for a recent art prize. Each painting was made with acrylic paint and small areas of oil paint on birch cradled boards.
I love using boards for painting. The surface is much more forgiving than canvas. Perfect for the spontaneous, mark-making and material layering I tend to do. I can scratch, sand, scrape back, engrave and it won’t tear, or break like canvas.
If I could get larger cradled boards and still be able to lift them, I would be very happy. The size of these boards are 50 x 50cm. each. Overall size 150cm. x 50cm.
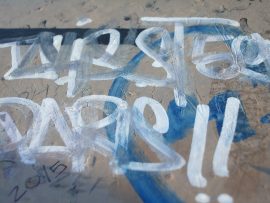
About Crut
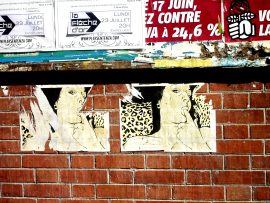
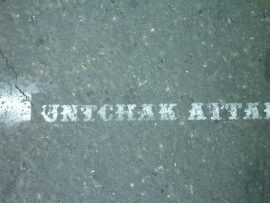
Communication to the masses. Text in the environment can mark territory, give control and can validate those, who don’t have a voice in the mainstream order. Through mark-making in the environment everybody can be heard. I see beauty and at times, desperation in the messages, found in the streets, and in the abandoned, underground and derelict spaces. Layers of tagging, graffiti and found marks on weathered surfaces tell stories about the past, present and future. Aesthetically they can be beautiful, even though they may have been painted illicitly on a wall, or other surface’s. My abstractions are investigations into, marks, traces and messages, left behind, in the urban and rural environment.
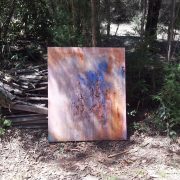
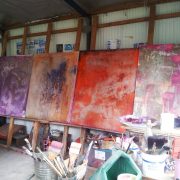
Experimental Painting. Industrial Materials and Methods.
Its been almost a year since I started this group of paintings using traditional, non traditional, industrial, materials and processes. There are 20 paintings altogether.
After several months of research and practical experiments, I finally discovered how to make my textural, gritty surfaces, stable and permanent for a flexible base.


