Looking to use an image of my artwork, in your next book, game, album, magazine cover, advertisement, film, prints and merchandise, then you’ll need to request a image license.
Australian requests click on the link above ^
International requests contact the artist directly info@outlook8studio.com
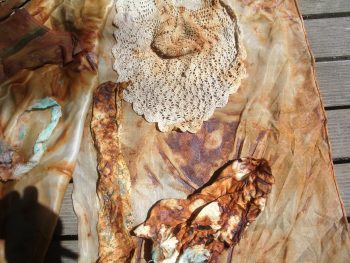
I’m interested in the worn, stained & rusted patina of older cloth and random mark making. I bury textiles, tear up old clothing, antique & vintage cloth. I like to tell my story alongside the marks of other women and those long gone. If you would like to know how to rust textiles, paper etc.
Summer in Australia is the perfect time for eco and botanical dyeing outdoors. During Winter, I like to save little bits of fabrics, lace and papers in a box for Summer dyeing. This is how I rust dye my fabrics….
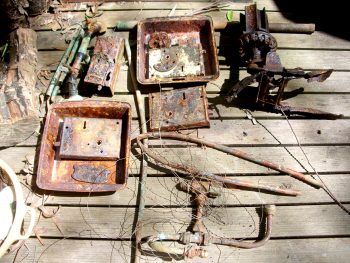
Many years ago, I collected heaps of metal junk to use for sculpture. As, I no longer weld, I now use the rusty bits and pieces that are scattered all over my property, for my dyeing projects.
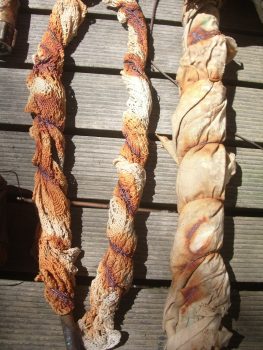
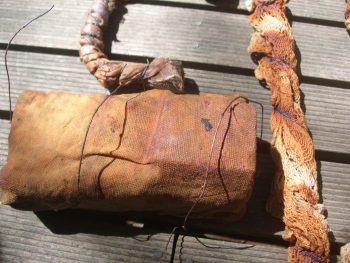
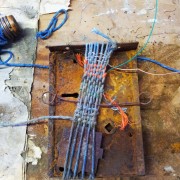
The gathering of the metal objects, wrapping them with the fabric spraying with vinegar and binding with rope and wire is quite relaxing. I call it mummy wrapping.
Rust Dyeing Fabric
MATERIALS:
Fabric: cottons silk… work best
Rusty metal objects: cooking pans, car parts, rusty nails, screws, pipes, copper objects
Wire, string, wool or rope just
something to bind the fabric to the rusted item
Plain white vinegar
Rubber gloves
Plastic sheet or bags
METHOD
1. Gather all the items together wet
your fabric and spray with vinegar.
2. Wrap the fabric around and around the rusted object as best you can.
3. Make sure it’s tightly bound with the string rope or wire. Cover with plastic so it stays moist.
4. Leave and wait for the magic to happen.
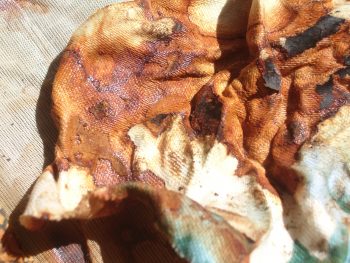
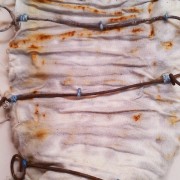
5. This may take an hour or 2 or if you want deeper textures of rust a week or 2. Then un- wrap your beautiful rusted fabric.
6. Once the fabric is dyed to the depth you want, soak for 30mins in warm water with a couple of tablespoons of salt to make the rust dye colourfast.
7. Wash gently in warm water with soap powder rinse dry and voila!
I also rust papers and larger pieces of fabric using a different method that I will share in a future post.
After exhibition blues has hit! I’m all painted out at the moment, but still enjoying some textile pieces Ive been playing around with for a while now. Looks like some old photos and found objects will make their way into the project too. Please see “Spaces Below” exhibition details in the sidebar on the right.
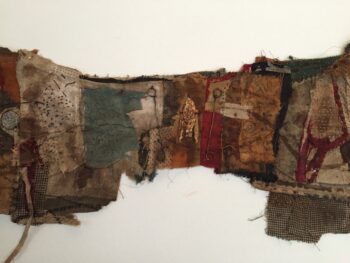
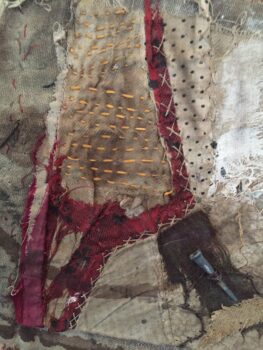
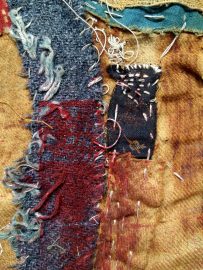
Ragged bits , old and new stitching, tracing the marks left behind on, 120 yr old textiles.
Memories and ghosts from the 1800s, remind me, as I work, of a time when women had many obligations and few choices.
A time when, women were completely controlled by their fathers, brothers and male relatives and their sole purpose in life was to find a husband, reproduce and then spend the rest of their lives serving him.
If you were to break free, you would be crucified, ridiculed and seen as “not normal, insane, bullied and tossed aside.
The textiles from the 120 year old quilt toppers I work with, sometimes, seem to yell at me, but mostly, they lay silent, as I make my own marks alongside others gone before.
I feel comfortable, as I stitch, tear, dye and reinforce the fragmented pieces.
Somehow, I hope, in a small way, by reclaiming and reworking the textiles, I can give a voice to those women.
Just like in my own life, when I was powerless, art gave me a voice to express myself, where once I had none.
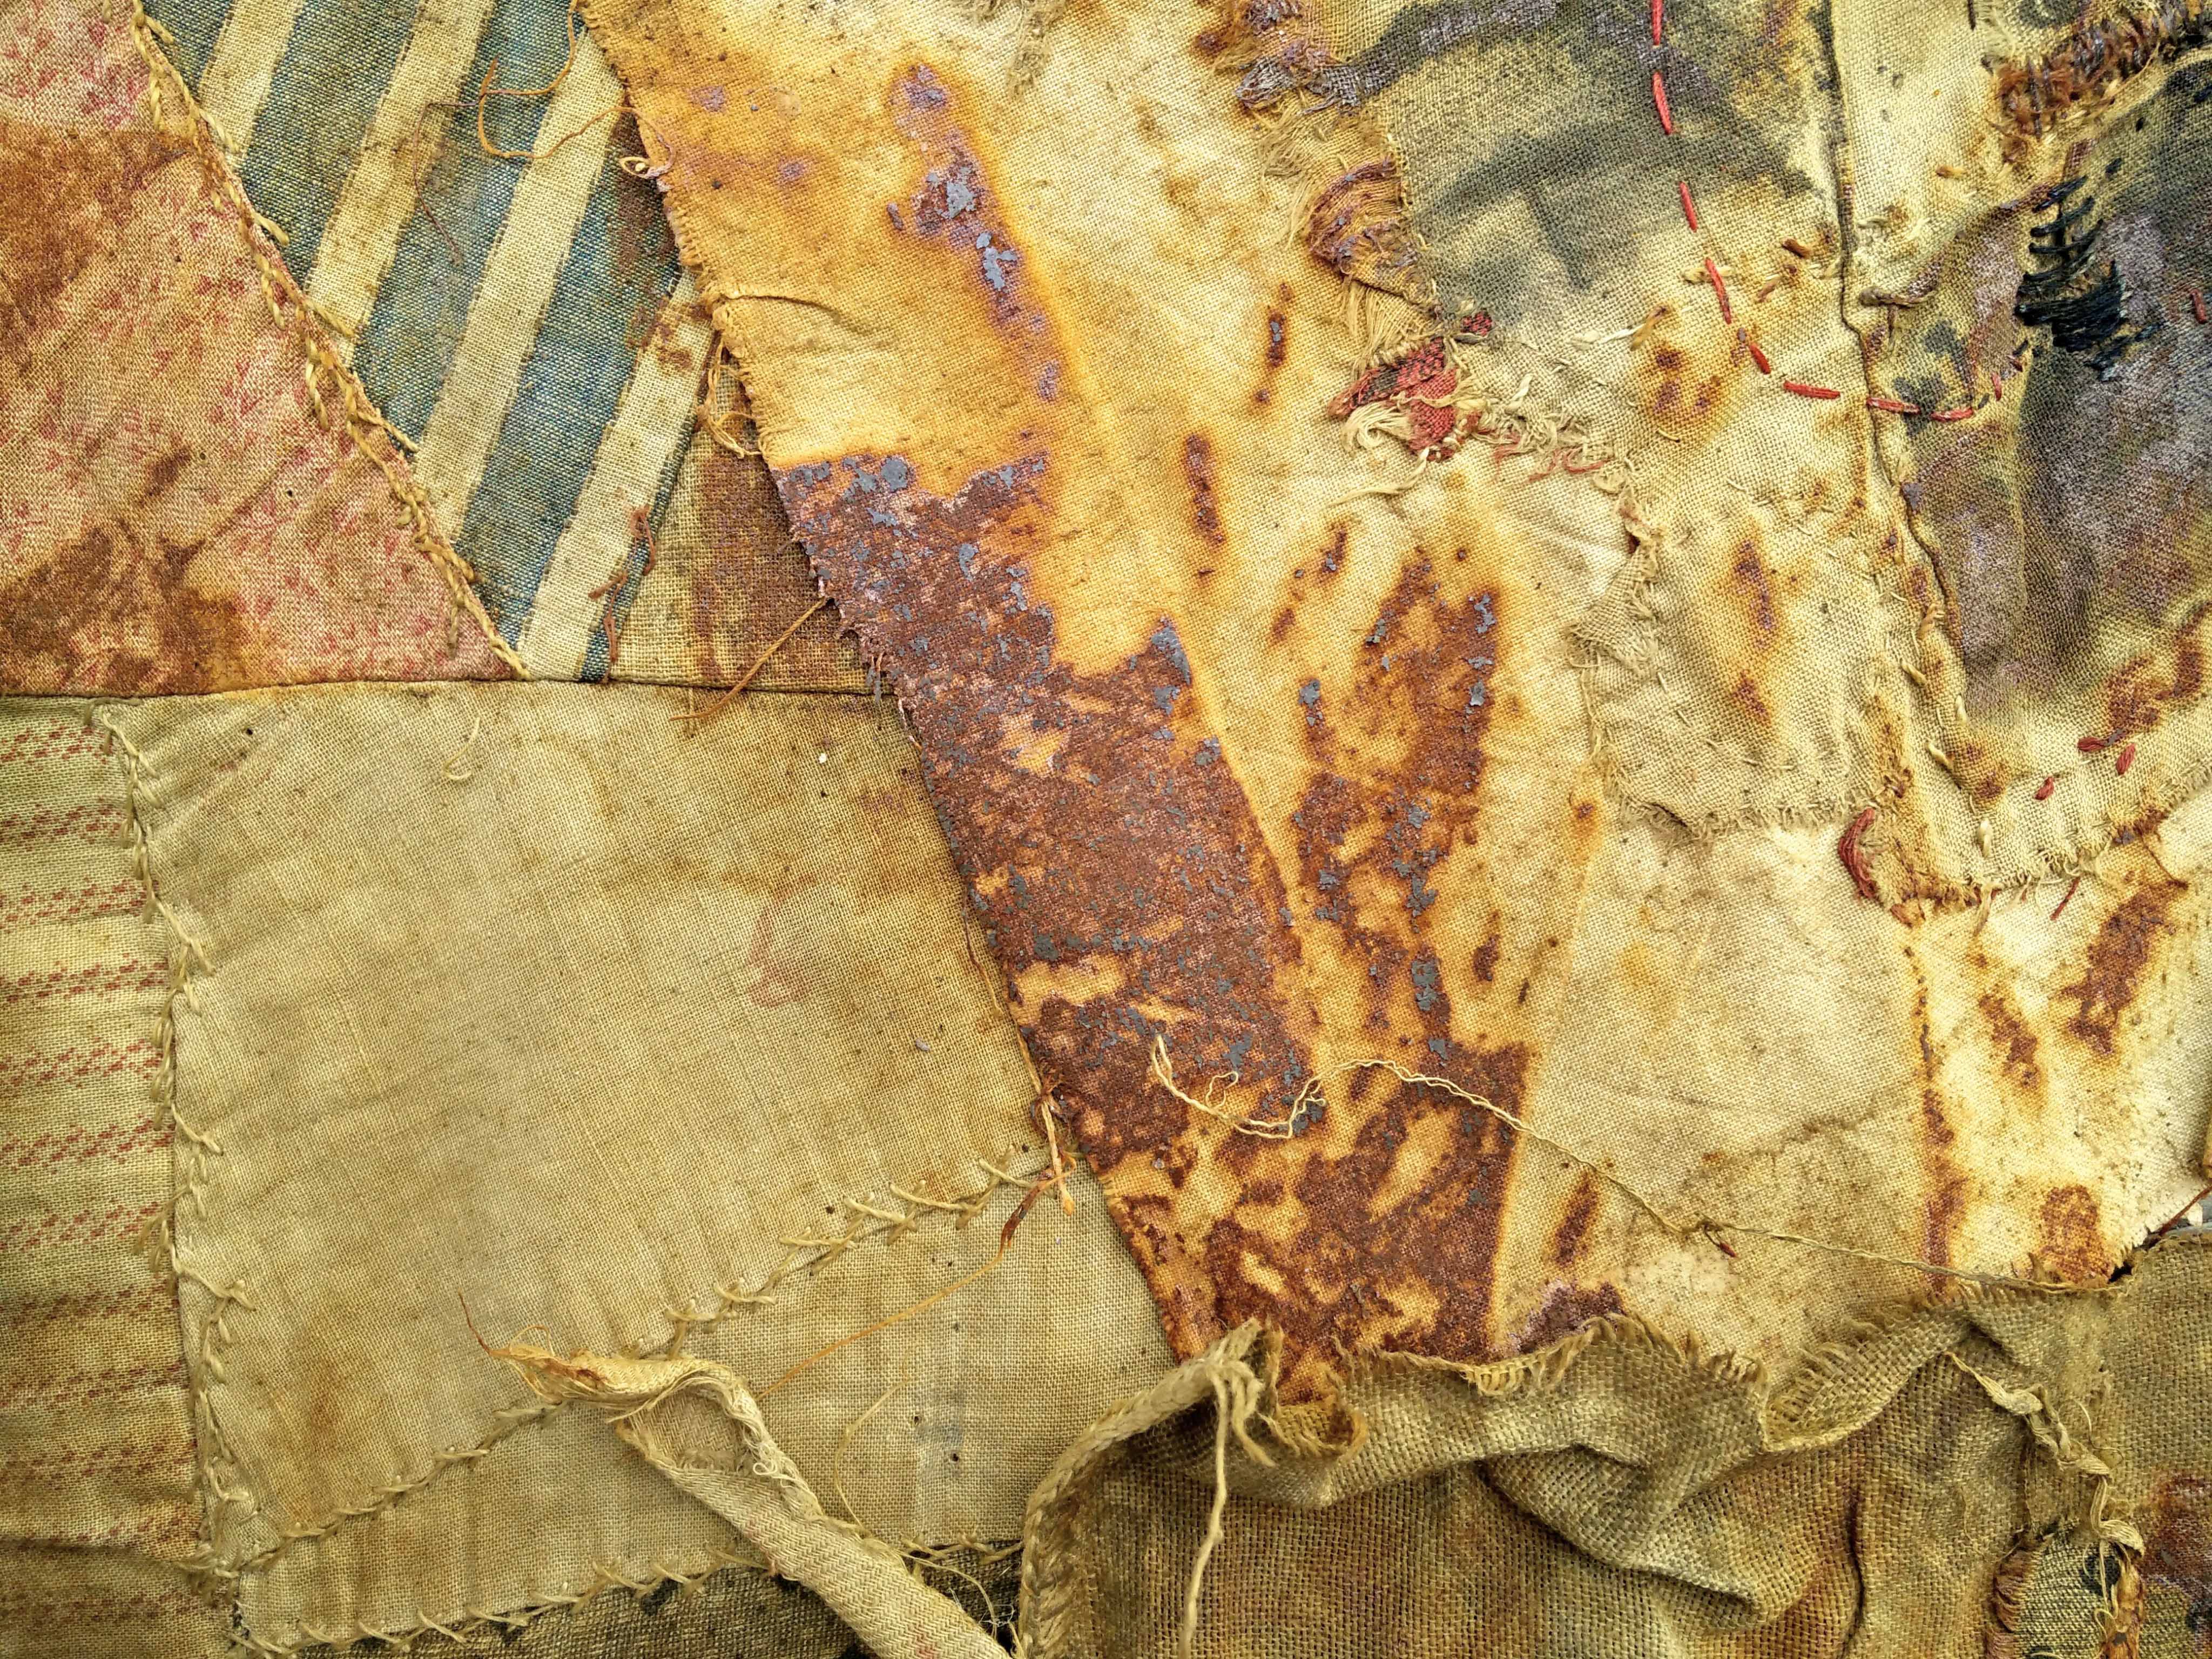
The process of transformation. Time, change, erosion and decay are qualities I like to celebrate. I examine and explore, the properties and possibilities, of my material and want to push the boundaries of something to get a deeper understanding.
In my latest project, I’m working with textiles over a 100 years old. I want to work with the worn and deteriorated textiles and collaborate alongside those, who in the past, so carefully stitched, mended and created, the pieces for comfort and warmth.
Each piece was once, carefully hand -stitched and now, breaking down and worn. I have very selectivity pulled apart and unpicked areas, and kept some intact.
Some areas of fabric, are so badly worn it breaks in my hands, so I have to reinforce it. Most pieces though are just left in their original state.
I then, like to push the process further with, natural & rust dying methods, mark making, hand stitching and painting with caste iron, botanical paints.
Numerous times, I expose the materials to the elements to experience the changes.
Getting to the essence of my material helps me to translate and describe its being. I rarely know the outcome of my projects and just go with the flow.
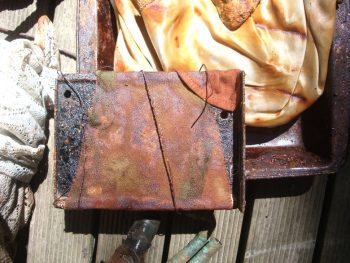
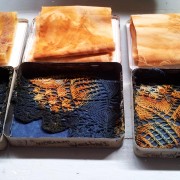
Rust & Shibori. Vintage Cigar Tins. Work in Progress.
A heap of vintage cigar tins in the process of change.
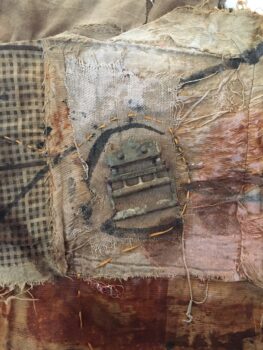
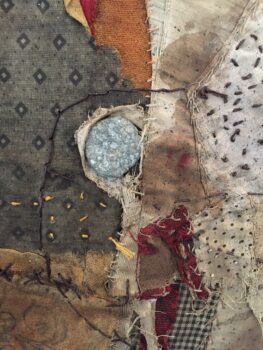
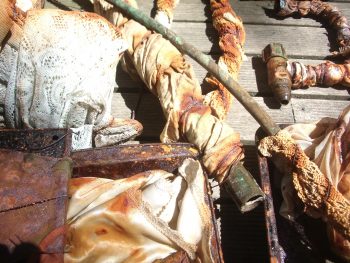
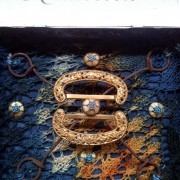
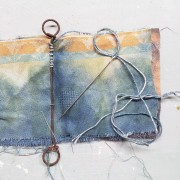
Vintage buckle, Japanese Shibori dyed scrap. Rusty fence wires and Victorian silk buttons were purchased from Penny’s antique and vintage mixed media supplies. Faginsdaughter
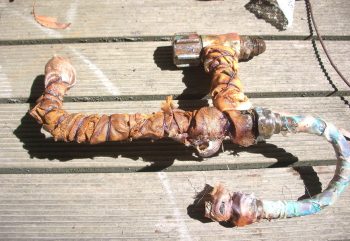
Old rusted door lock and fence wire with weaving made from beach- combed finds and indigo cotton string.
The beginnings of a textile book.
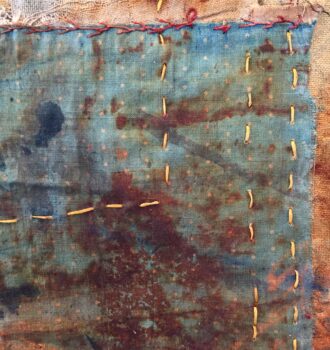
Rust and indigo dyed wall piece
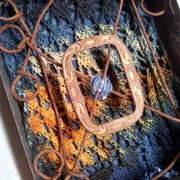
Finally, another tin. Metal detector find, central Victoria, 1800’s suspender buckle, rusty wire and rust indigo dyed doily scrap. Unfortunately the beautiful buckle broke in this installation. It could be made from gold, as it was very soft.
I may use some of these artworks in my next solo exhibition, “Wallmatter” in July
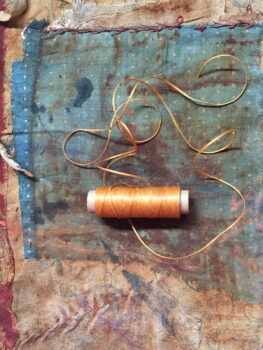
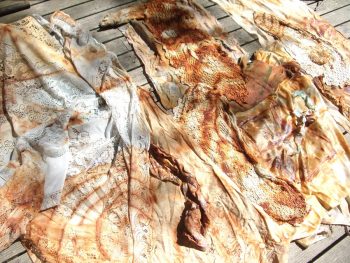
Lately I’ve been experimenting with natural dyeing processes for fabrics and papers. I’m trying out rust dyeing at the moment. I want to build up a collection of natural and rust dyed fabrics and papers so when my next creative spurt comes around, I’ll have plenty to work with.
Over the years I have collected heaps of metal for welding my sculptures so have plenty bits hiding on my property just rusting away. The gathering of the metal objects, wrapping them with the fabric spraying with vinegar and binding with rope and wire is quite relaxing. I call it mummy wrapping.
It only takes a couple of hours for marks to appear but I like to keep mine for up to a week or two so I can get deeper impressions and colours. I discovered if I wrap fabric around old pieces of copper pipe the amazing green and red patinas are transferred to the fabric as well.
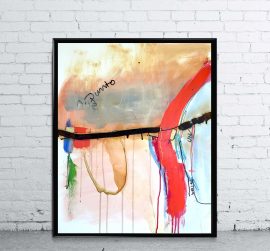
I’m happy with the end result and see connections to the abstract marks I create in my paintings. There are paintings in themselves