Posts Tagged ‘painting equipment’

Homemade Gesso Paint!

Saturday, November 18th, 2017

I love Gesso paint and use heaps of it in my work. It’s gritty, chalky and can be applied to artwork to give a translucent or opaque look. It’s also very expensive so I decided to make my own.


Gesso is used for many things such as a primer for canvas or on paper to give a good base for painting, drawing or mixed media work.  When making collage I use it as a gluing medium to stick on papers, in-between, painting and drawing layers.

The recipe below makes 2 litres of Gesso paint

( If not using straight away, this Gesso will last approx. 4-6 weeks)

Homemade Gesso

PLASTER MIX

1 cup Plaster of Paris or fine white plaster powder

1 cup of PVA or white glue

1 cup hot water

PAINT

3 cups white acrylic paint

UTENSILS

Container, cup and mixing stick or spoon

RATIO: 1-3

Plaster Mix 1 – Acrylic paint 3

Method

To make the plaster mix. Add the plaster to the hot water and stir ( Safety purposes: always add the plaster powder to the liquid, not liquid to plaster, as it will blow up into your face and always wear a dust mask)

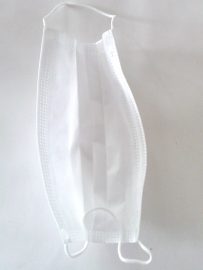
Dust Mask

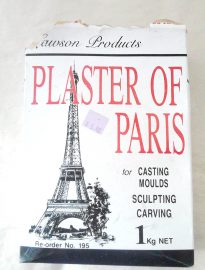
“Plaster of Paris” and cup

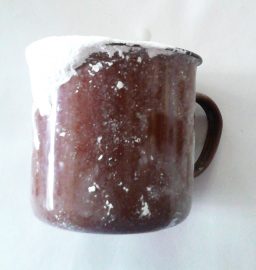
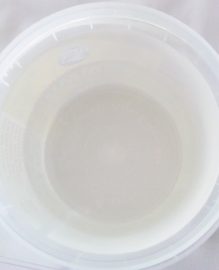
Hot water and mix

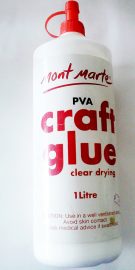
Next add the PVA or white glue, stir.

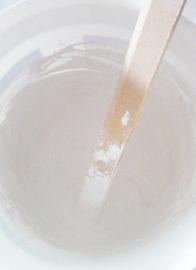
Finally add the white acrylic paint and mix. ( I used some acrylic powder paint I had and made it up with water) You can use any kind of acrylic paint or colour .


Result

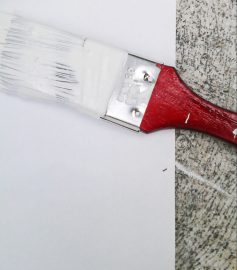
I was very happy with the result. The gesso is translucent with the gritty bits I like. You can also do several layers of gesso to give a more opaque appearance. It covered my canvas very well with only 1 coat. When adding more than 1 coat you can sand in- between to give a really smooth surface for detailed work .

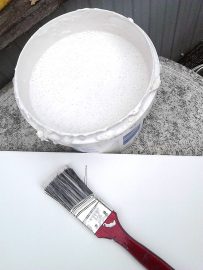
2 litres of Gesso

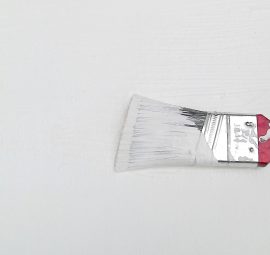
Gesso on stretched canvas

Gesso on paper


To see this and more of my free tutorials, please go to  Tutorials I even show you how to make my large studio easel.


Homemade Gesso!

Thursday, January 16th, 2014

Update 2018! Since writing this recipe in 2014, Ive been using this homemade Gesso recipe, for 14 years now and haven’t had an issue, with ageing, layers coming apart, seepage, changes in colour etc. on any of my artworks. I use it with both oil and acrylic paints. I also seal my papers with it when, making books, sewing on paper, paper for collage, painting with paint, inks etc. As to the quality, I find the homemade isn’t as white, but just as good quality, as professional artists Gesso. I also use store bought gesso too, if I’ve run out and for convenience. My version is more gritty, than store bought, but if you sandpaper in between coats, I find it’s not an issue. For me, this recipe is just as good as, the store bought and if you use archival PVA/Elmers glue, it will make it all the more stable, for longevity.

Homemade Gesso!

I love Gesso paint and use heaps of it in my work. It’s gritty, chalky and can be applied to artwork to give a translucent or opaque look. It’s also very expensive so I decided to make my own.


Gesso is used for many things such as a primer for canvas or on paper to give a good base for painting, drawing or mixed media work.  When making collage I use it as a gluing medium to stick on papers, in-between, painting and drawing layers.

The recipe below makes 2 litres of Gesso paint

( If not using straight away, this Gesso will last approx. 4-6 weeks)

Homemade Gesso

PLASTER MIX

1 cup Plaster of Paris or fine white plaster powder

1 cup of PVA or white glue (archival if available)

1 cup hot water

PAINT

3 cups white acrylic paint

UTENSILS

Container, cup and mixing stick or spoon

RATIO: 1-3

Plaster Mix 1 – Acrylic paint 3

Method

To make the plaster mix. Add the plaster to the hot water and stir ( Safety purposes: always add the plaster powder to the liquid, not liquid to plaster, as it will blow up into your face and always wear a dust mask)

Dust Mask

“Plaster of Paris” and cup

Hot water and mix

Next add the PVA or white glue, stir.

Finally add the white acrylic paint and mix. ( I used some acrylic powder paint I had and made it up with water) You can use any kind of acrylic paint or colour .


Result

I was very happy with the result. The gesso is translucent with the gritty bits I like. You can also do several layers of gesso to give a more opaque appearance. It covered my canvas very well with only 1 coat. When adding more than 1 coat you can sand in- between to give a really smooth surface for detailed work .

2 litres of Gesso

Gesso on stretched canvas

Gesso on paper


Update 2018! Ive been using this recipe for 14 years now and have had no issues with ageing , seepage. I use it with oil paintings and acrylic artworks. I also seal my papers with it when making books, sewing paper for collage, painting with paint, inks etc.


Make a Large Studio Easel in 6 Easy – Peasy Steps

Saturday, February 4th, 2012

IMG_20150520_115511


How to Make a Large Studio Easel in 6 Easy- Peasy Steps

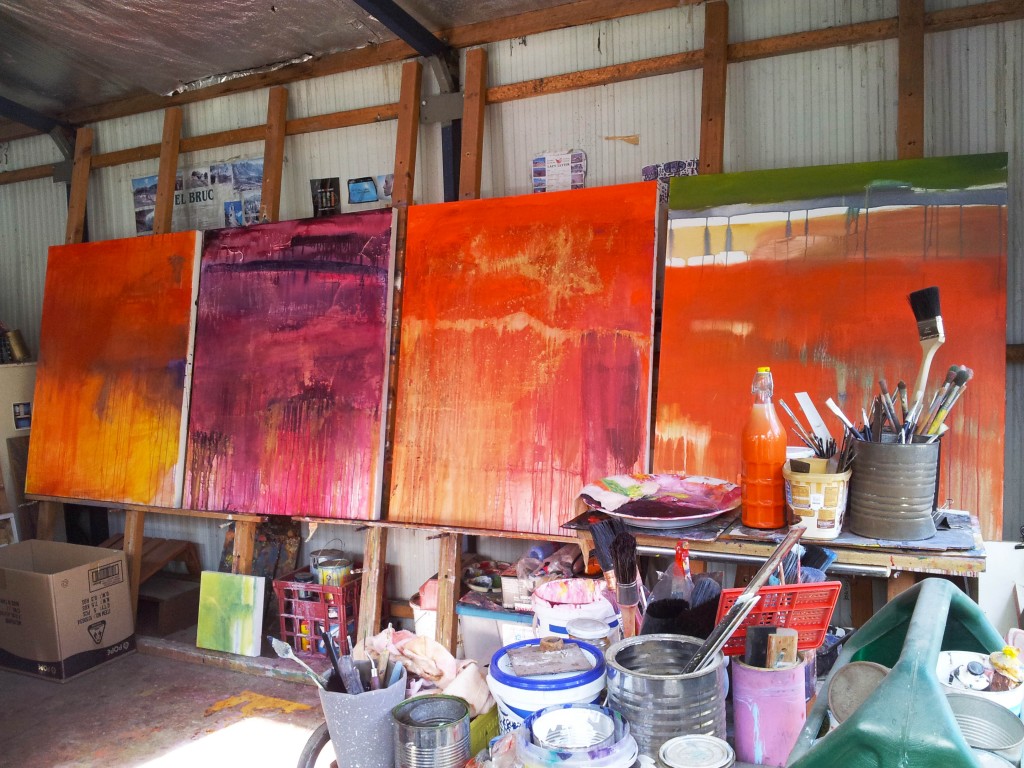
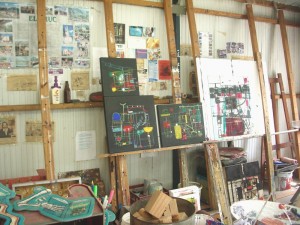
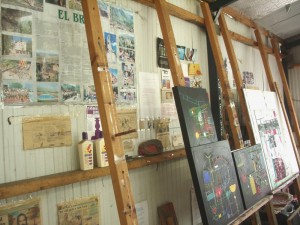
When I built my studio years ago, I needed to have a versatile easel. I couldn’t find anything suitable in the shops and my budget wouldn’t allow for much.  So, I went about creating one from my left over pieces of timber. I needed one that would take small to very large canvas’s all at once. I needed lots of space too. Being an abstract painter, I slosh paint and work very quickly, sometimes on many canvas’s at once. I wanted a permanent spac,e where I could work on small canvas’s 30x30cm up to very large ones 4 x 2 Meters . My easel ended up being 9 meters long x 4 meters high and after 12 years of daily use, my rough and ready easel is still going strong.

My simple Plan

Materials & Equipment

Cut yourself, or buy 2 equal lengths of  hardwood or pine, however long you want the easel to be. This is for the floor and wall runner that will hold all the upright struts.

Cut yourself, or buy equal lengths of hardwood or pine for the uprights. Decide how many uprights you want to hold your canvas .To get the length of each piece , measure from floor to top wall at the angle you want the easel to be.

Bolts, nails or screws

Wooden dowel lengths of wood for pegs

Drill with a “spade” drill bit the same circumference as the dowel pieces you have

(Spade bits are used for rough boring holes in wood.)

Tape measure

Hammer

Drill

Method

1.Everything will need to be measured and cut for the area your are working on.

2. Grab the floor runner piece, lay it perpendicular to the wall on the floor, judging the best space between the floor runner and the wall . Screw, bolt or nail to the floor at intervals to secure. (Note) Remember to allow enough space from floor runner to wall for a slight angle for the upright pieces of wood so your painting canvas can to sit without falling

3. Grab the wall runner piece and screw, bolt or nail to the upper wall at intervals and make secure.

4. Lay all your upright pieces of wood together on a flat surface together (floor )and take your drill with the spade bit and make holes from bottom to the top on all the lengths of wood. The spacing has to be equal across the whole lot.

(If painting the easel do this now before attaching to wall)

5. Take your pre- cut lengths of wood with the holes and sit each one so the bottom is sitting behind the attached floor runner and at the top against the wall runner with the holes facing you. Screw bolt or nail the upright struts to the floor runner and to the wall runner at top. (Note) Go along the floor runner at whatever spacing you want with the upright struts to be.

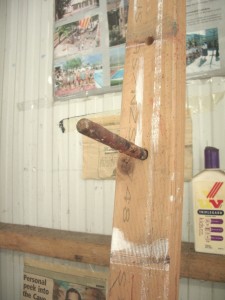
Almost done. Cut lengths ( 6inches) of dowel for the pegs that will hold all your canvas’s

Note: If the pegs don’t fit in the holes… Round off one end with sandpaper by hand, or with an electric sander.

All done!!!  Now grab your canvas and paint to your hearts content