Posts Tagged ‘tutorial’

Homemade Gesso Paint!

Saturday, November 18th, 2017

I love Gesso paint and use heaps of it in my work. It’s gritty, chalky and can be applied to artwork to give a translucent or opaque look. It’s also very expensive so I decided to make my own.


Gesso is used for many things such as a primer for canvas or on paper to give a good base for painting, drawing or mixed media work.  When making collage I use it as a gluing medium to stick on papers, in-between, painting and drawing layers.

The recipe below makes 2 litres of Gesso paint

( If not using straight away, this Gesso will last approx. 4-6 weeks)

Homemade Gesso

PLASTER MIX

1 cup Plaster of Paris or fine white plaster powder

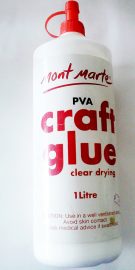
1 cup of PVA or white glue

1 cup hot water

PAINT

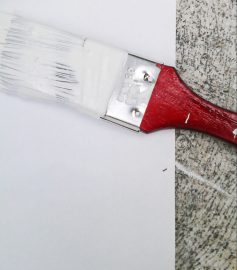
3 cups white acrylic paint

UTENSILS

Container, cup and mixing stick or spoon

RATIO: 1-3

Plaster Mix 1 – Acrylic paint 3

Method

To make the plaster mix. Add the plaster to the hot water and stir ( Safety purposes: always add the plaster powder to the liquid, not liquid to plaster, as it will blow up into your face and always wear a dust mask)

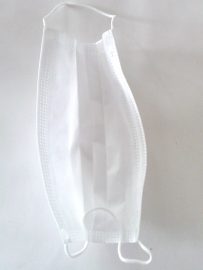
Dust Mask

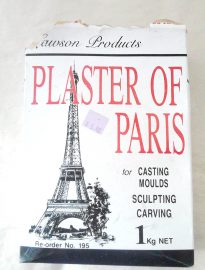
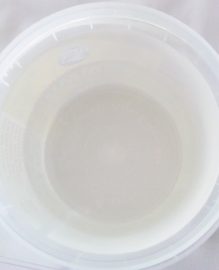
“Plaster of Paris” and cup

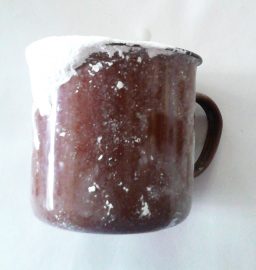
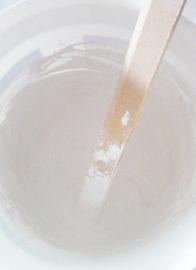
Hot water and mix

Next add the PVA or white glue, stir.

Finally add the white acrylic paint and mix. ( I used some acrylic powder paint I had and made it up with water) You can use any kind of acrylic paint or colour .


Result

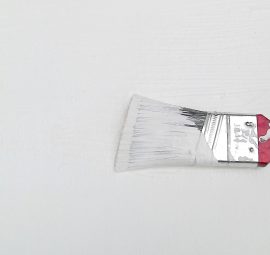
I was very happy with the result. The gesso is translucent with the gritty bits I like. You can also do several layers of gesso to give a more opaque appearance. It covered my canvas very well with only 1 coat. When adding more than 1 coat you can sand in- between to give a really smooth surface for detailed work .

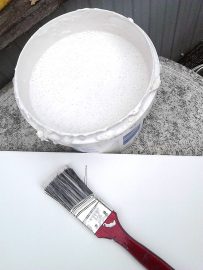
2 litres of Gesso

Gesso on stretched canvas

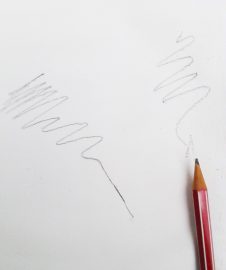
Gesso on paper


To see this and more of my free tutorials, please go to  Tutorials I even show you how to make my large studio easel.


Sun Prints. Coffee. Vintage Textiles.

Saturday, August 23rd, 2014

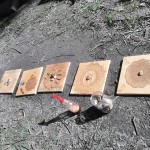
Experimenting today with sun prints using coffee and the sun

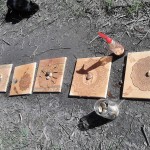
Vintage damaged cloth stretched over wooden frames with French flourish stamping


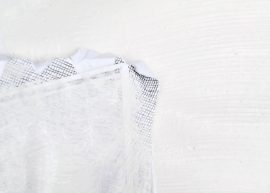
Tattered antique French doilies placed on top of stretched cloth


Using the doilies as a stencils spray with coffee and vinegar diluted in hot water and leave under the sun for an hour or so


Resulting in subtle ghostly images embedded for further embellishment later


Iron each image 3 mins. to make colour fast


Homemade Gesso!

Thursday, January 16th, 2014

Update 2018! Since writing this recipe in 2014, Ive been using this homemade Gesso recipe, for 14 years now and haven’t had an issue, with ageing, layers coming apart, seepage, changes in colour etc. on any of my artworks. I use it with both oil and acrylic paints. I also seal my papers with it when, making books, sewing on paper, paper for collage, painting with paint, inks etc. As to the quality, I find the homemade isn’t as white, but just as good quality, as professional artists Gesso. I also use store bought gesso too, if I’ve run out and for convenience. My version is more gritty, than store bought, but if you sandpaper in between coats, I find it’s not an issue. For me, this recipe is just as good as, the store bought and if you use archival PVA/Elmers glue, it will make it all the more stable, for longevity.

Homemade Gesso!

I love Gesso paint and use heaps of it in my work. It’s gritty, chalky and can be applied to artwork to give a translucent or opaque look. It’s also very expensive so I decided to make my own.


Gesso is used for many things such as a primer for canvas or on paper to give a good base for painting, drawing or mixed media work.  When making collage I use it as a gluing medium to stick on papers, in-between, painting and drawing layers.

The recipe below makes 2 litres of Gesso paint

( If not using straight away, this Gesso will last approx. 4-6 weeks)

Homemade Gesso

PLASTER MIX

1 cup Plaster of Paris or fine white plaster powder

1 cup of PVA or white glue (archival if available)

1 cup hot water

PAINT

3 cups white acrylic paint

UTENSILS

Container, cup and mixing stick or spoon

RATIO: 1-3

Plaster Mix 1 – Acrylic paint 3

Method

To make the plaster mix. Add the plaster to the hot water and stir ( Safety purposes: always add the plaster powder to the liquid, not liquid to plaster, as it will blow up into your face and always wear a dust mask)

Dust Mask

“Plaster of Paris” and cup

Hot water and mix

Next add the PVA or white glue, stir.

Finally add the white acrylic paint and mix. ( I used some acrylic powder paint I had and made it up with water) You can use any kind of acrylic paint or colour .


Result

I was very happy with the result. The gesso is translucent with the gritty bits I like. You can also do several layers of gesso to give a more opaque appearance. It covered my canvas very well with only 1 coat. When adding more than 1 coat you can sand in- between to give a really smooth surface for detailed work .

2 litres of Gesso

Gesso on stretched canvas

Gesso on paper


Update 2018! Ive been using this recipe for 14 years now and have had no issues with ageing , seepage. I use it with oil paintings and acrylic artworks. I also seal my papers with it when making books, sewing paper for collage, painting with paint, inks etc.


How to Rust Dye Fabric.

Tuesday, October 4th, 2011

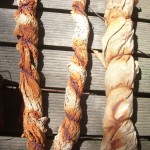
Lately I’ve been experimenting with natural dyeing processes for fabrics and papers. I’m trying out rust dyeing at the moment. I want to build up a collection of natural and rust dyed fabrics and papers so when my next creative spurt comes around, I’ll have plenty to work with.

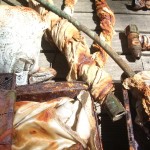
Over the years I have collected heaps of metal for welding my sculptures so have plenty bits hiding on my property just rusting away. The gathering of the metal objects, wrapping them with the fabric spraying with vinegar and binding with rope and wire is quite relaxing. I call it mummy wrapping.

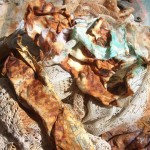
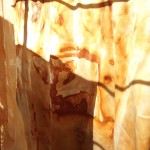
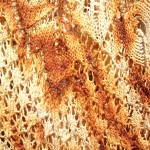
It only takes a couple of hours for marks to appear but I like to keep mine for up to a week or two so I can get deeper impressions and colours. I discovered if I wrap fabric around old pieces of copper pipe the amazing green and red patinas are transferred to the fabric as well.

I’m happy with the end result and see connections to the abstract marks I create in my paintings. There are paintings in themselves

Go to my tutorial on Rust Dyeing here